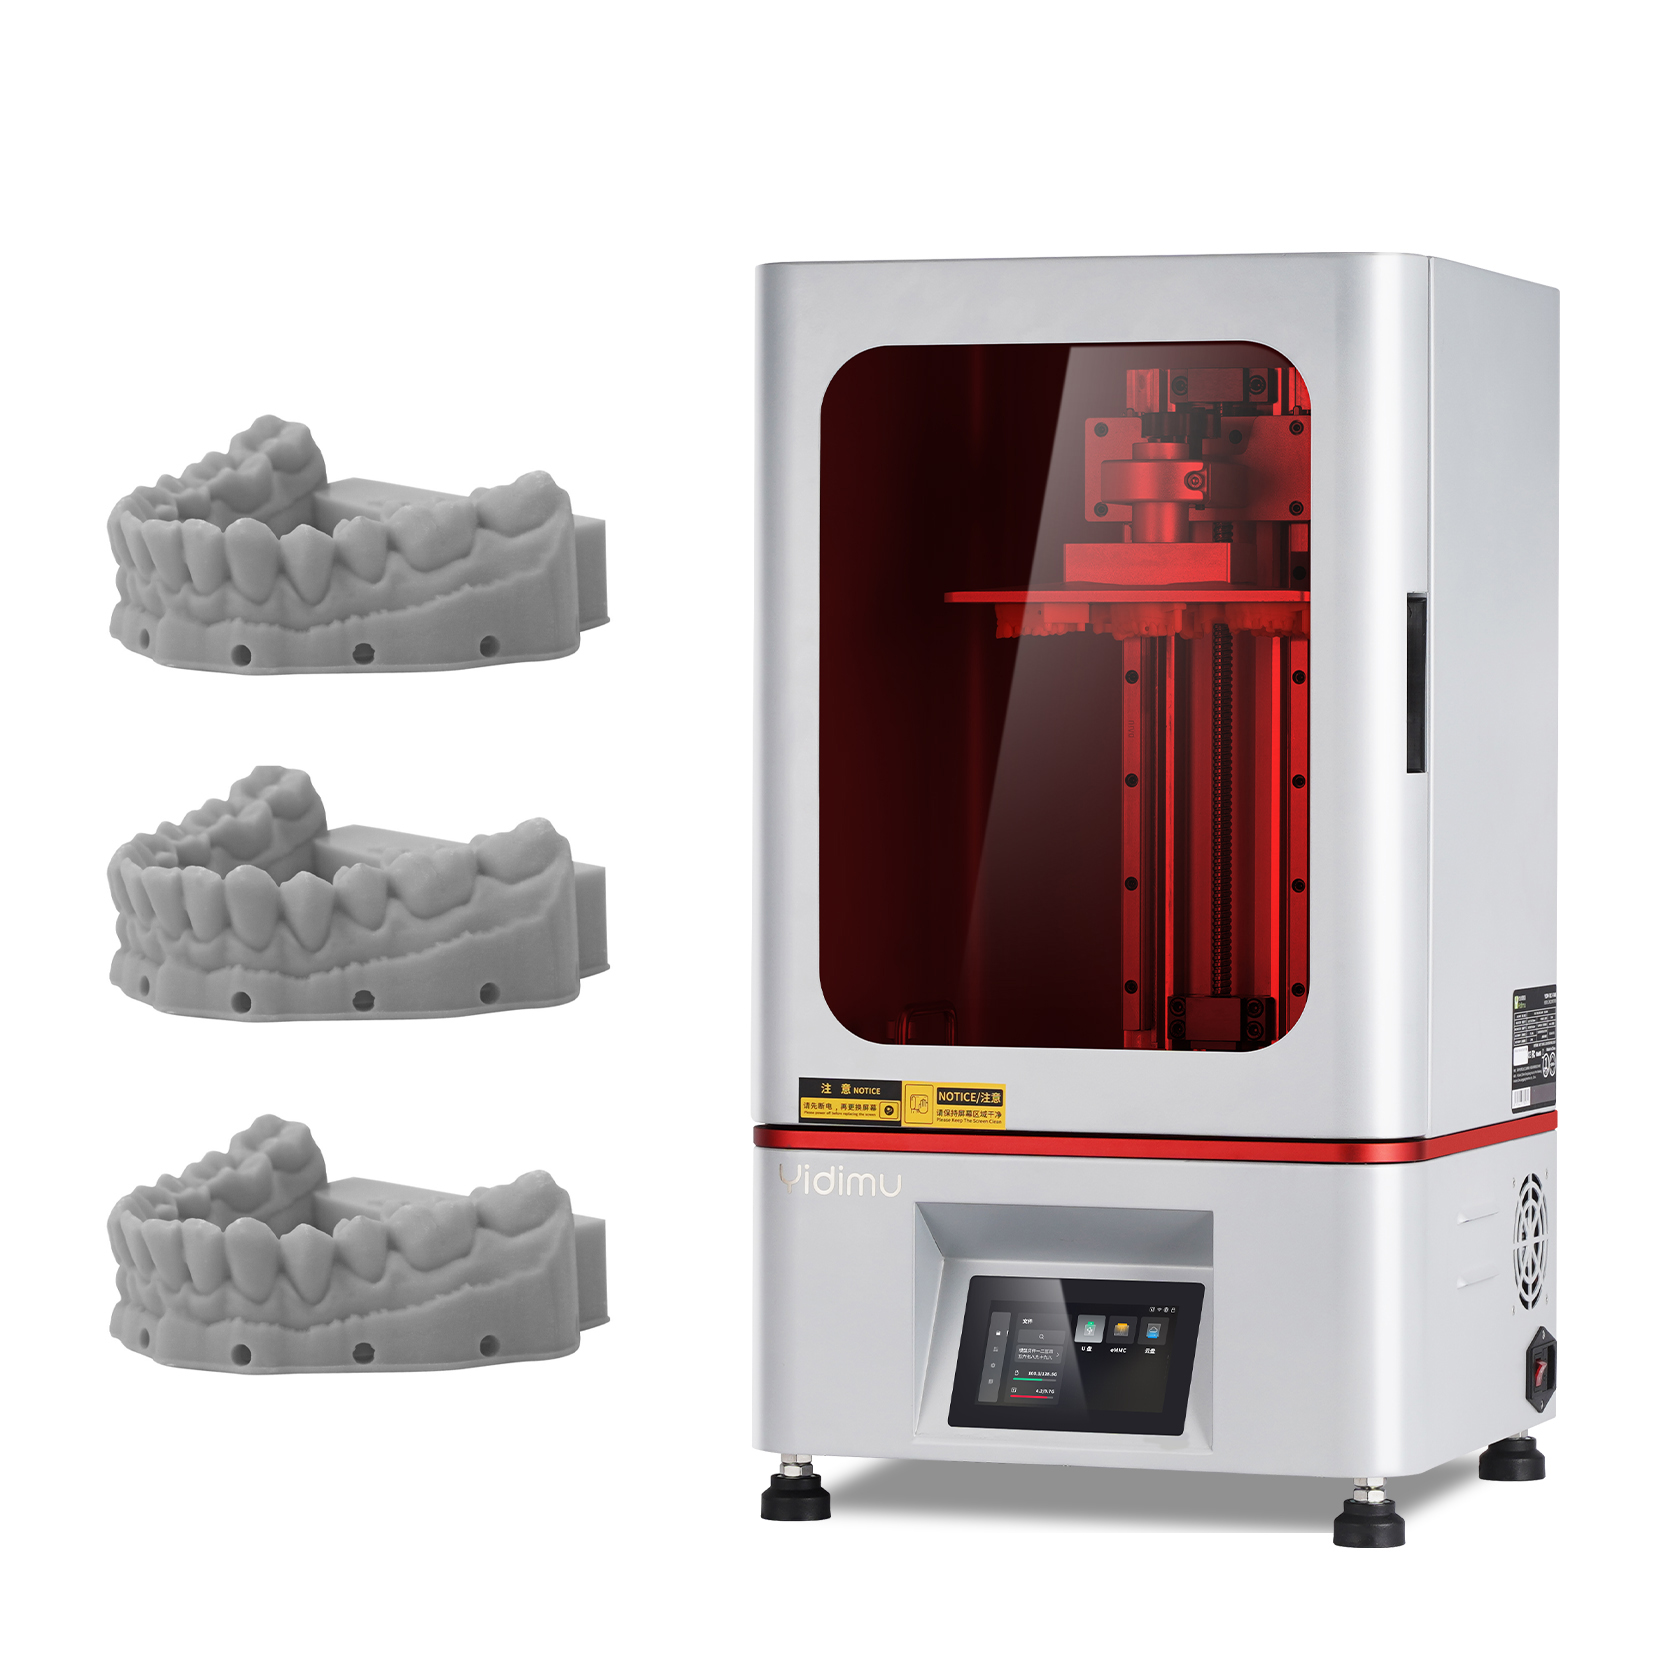
Dental model resin is not only a material choice. It affects how a dental lab checks details, communicates with clients, photographs models, scans printed parts, manages production batches and controls post-processing.
In digital dentistry, printed models may be used for orthodontic models, study models, implant model planning, restorative model checking, removable prosthodontic models, thermoforming preparation or educational demonstration. Different suppliers position dental model resins around accuracy, visual detail, opacity, surface finish and color options. For example, NextDent describes model resin options in colors such as peach, white and grey, while Yidimu positions its model resin around restorative and diagnostic model applications with an opaque beige finish for margin visibility and detail capture.
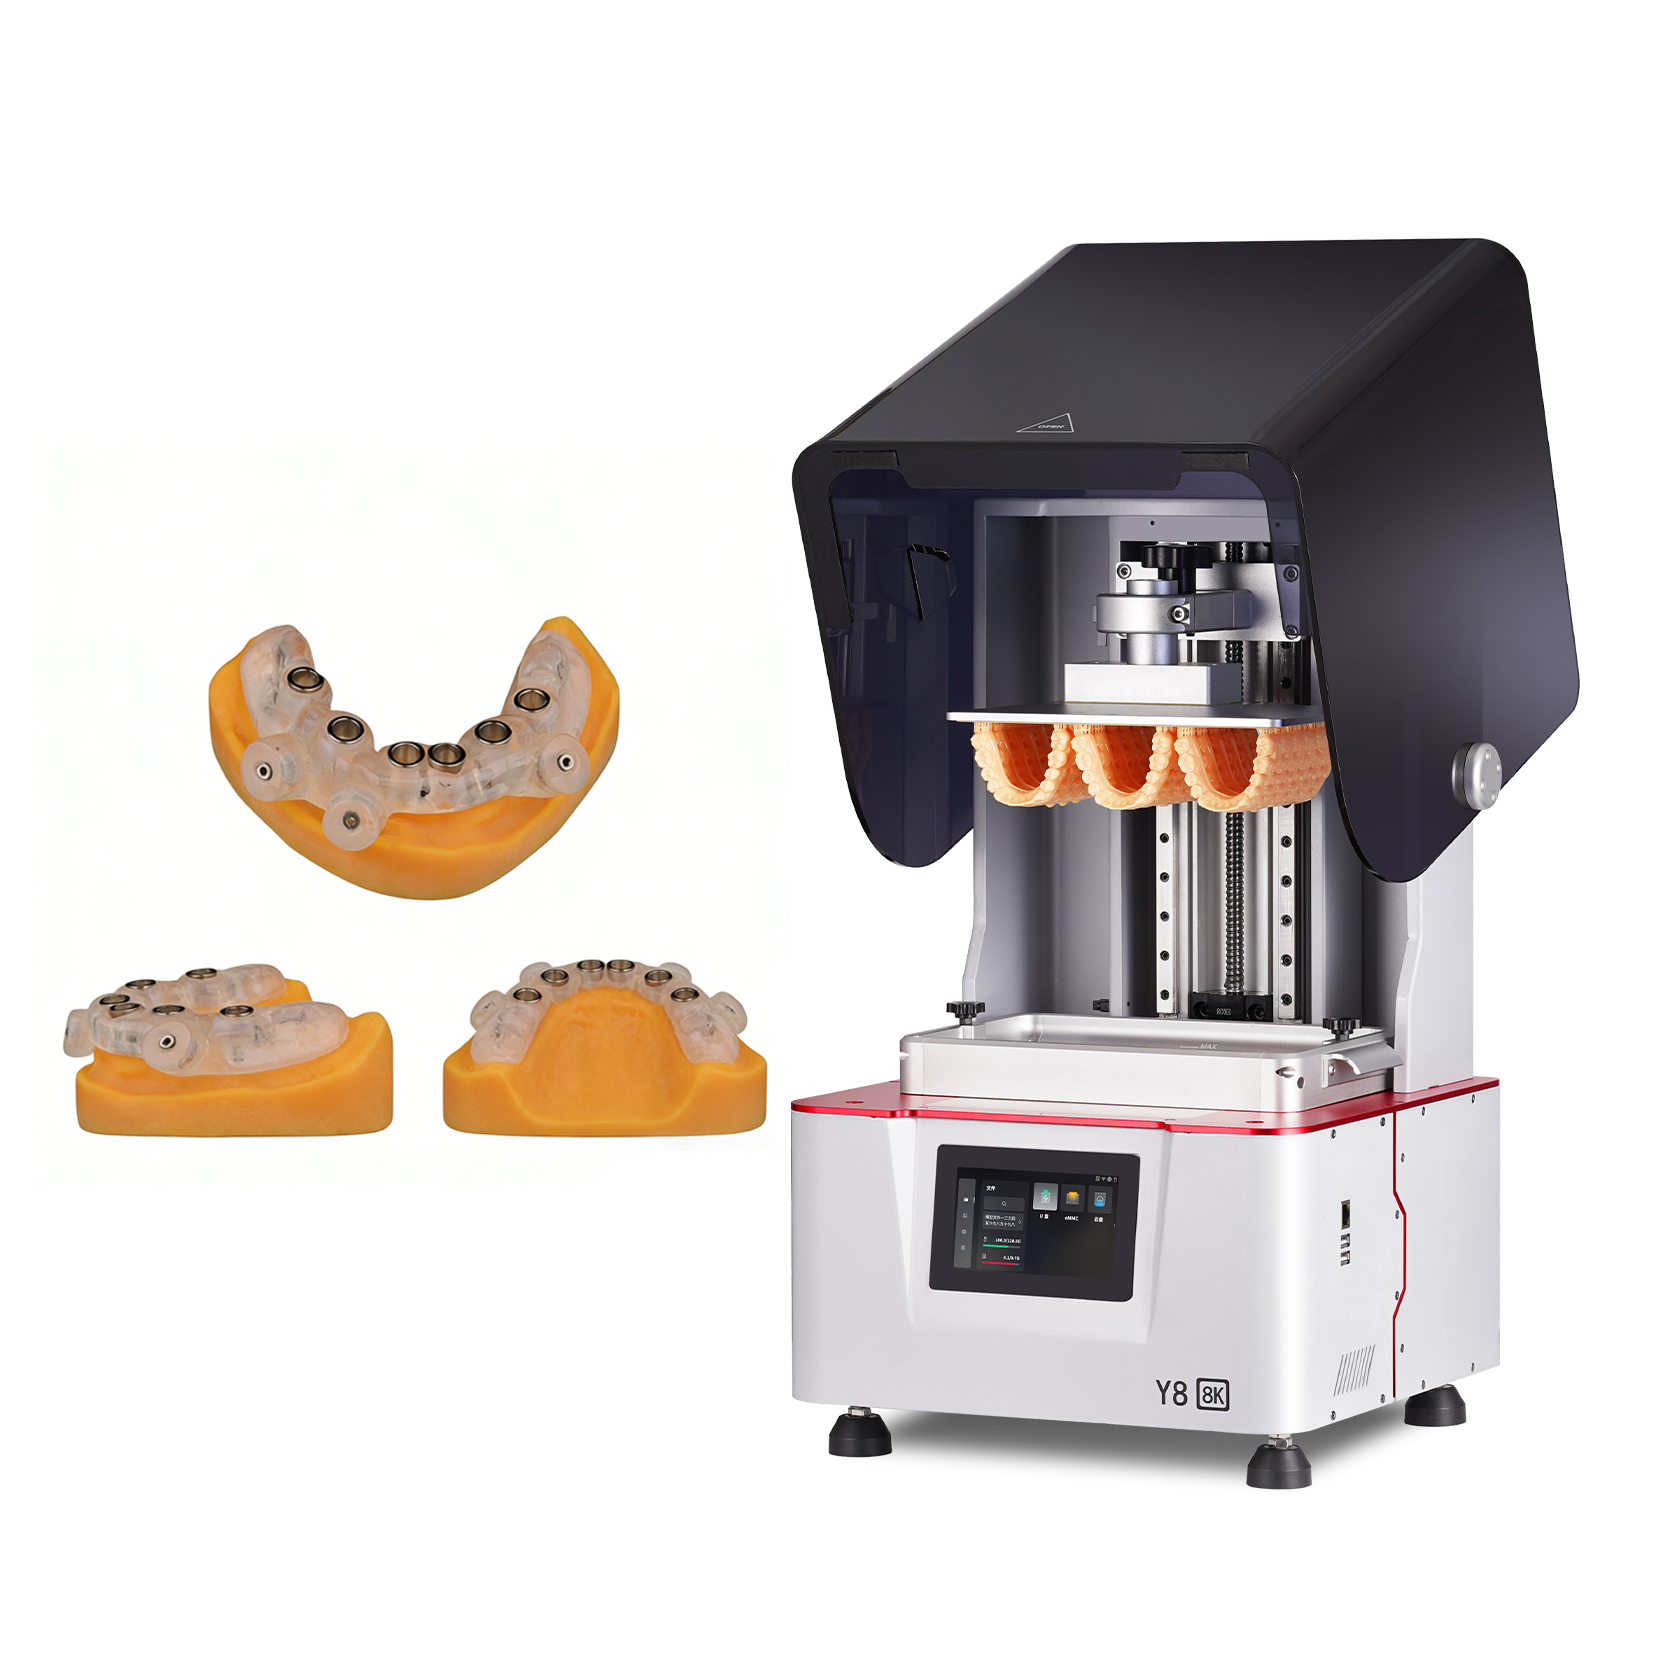
This means the yellow vs gray dental model resin decision is really a workflow decision. Color can influence:
- How easy it is to see margin lines and anatomy
- How clear the model looks under lab lighting
- Whether technicians can photograph the model clearly
- How the model appears to dentists or patients
- Whether defects, support marks or surface residue are easy to identify
- How consistent the model looks after cleaning and UV curing
Color does not automatically determine accuracy. A yellow resin is not always more accurate than gray resin, and gray resin is not always more stable than yellow resin. Accuracy depends on the full system: printer, resin formulation, exposure settings, layer height, support design, washing, drying, UV curing and environmental control.
Yellow Dental Model Resin: When It Makes Sense
Yellow dental model resin is commonly selected when the printed model needs a warm, natural, gypsum-like appearance. Many dental labs prefer yellow or beige tones because they look familiar in daily lab work and can be easier for dentists and patients to understand visually.
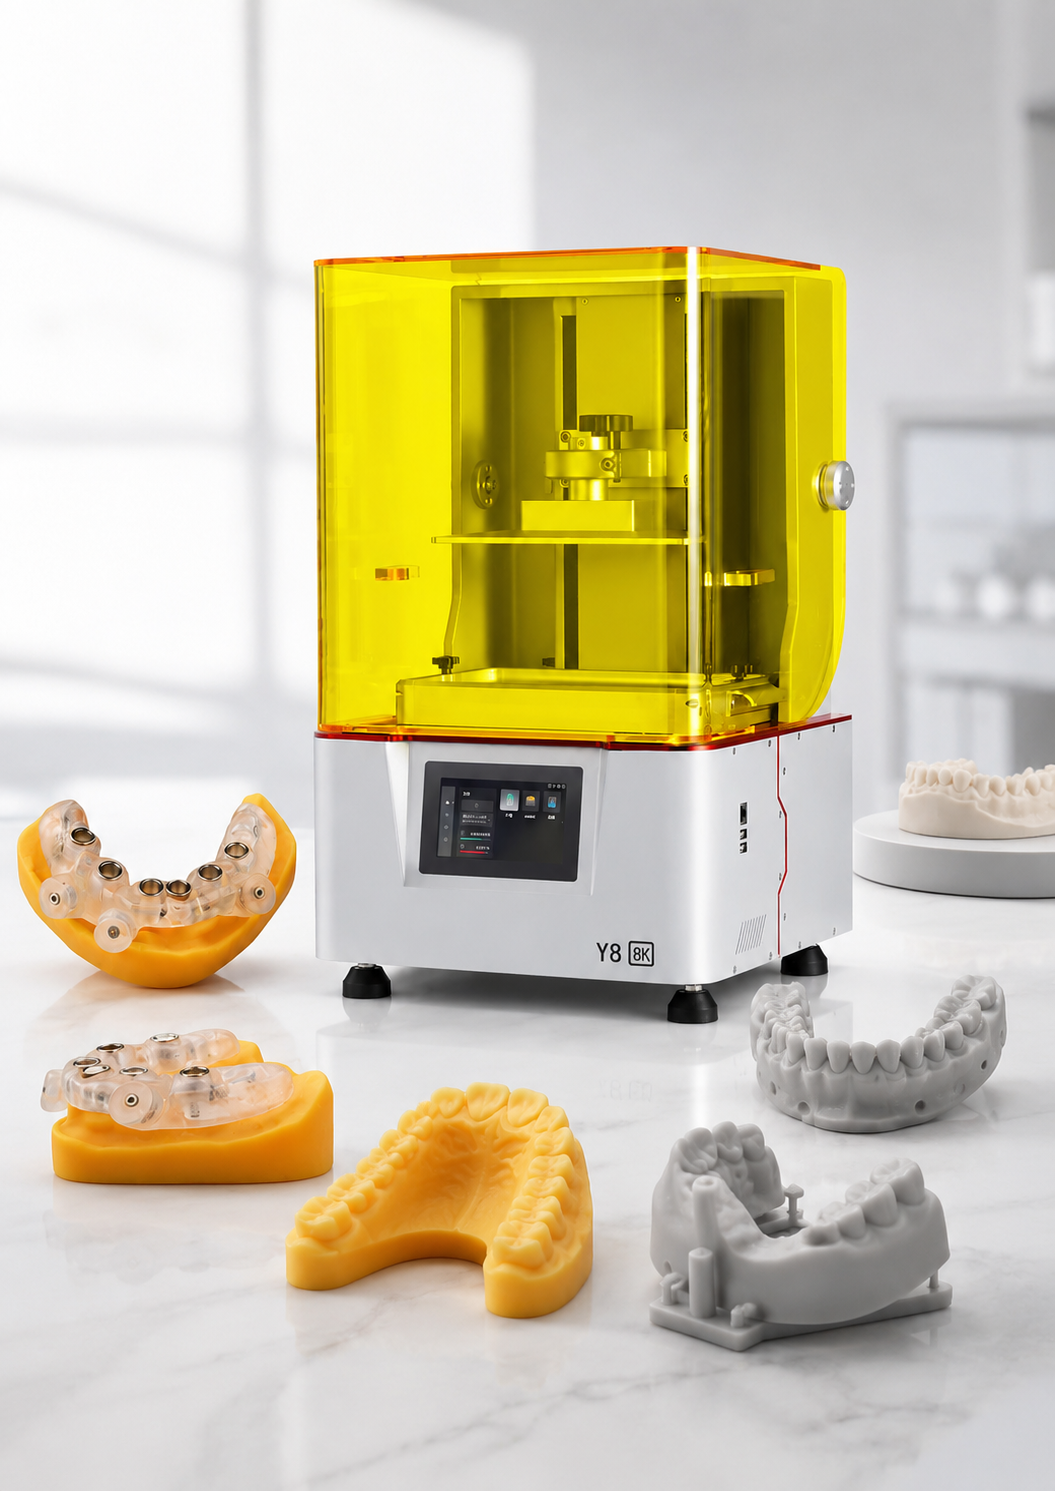
Yellow resin may be a good choice for:
Orthodontic Study Models
Yellow models can provide a clean and professional appearance for orthodontic case review, patient explanation and arch comparison. The warmer tone can make dental anatomy look less artificial than pure white or dark gray models.
General Dental Models
For routine dental models, yellow resin can be practical because it gives a soft visual contrast between teeth, gingival areas and model base structures. It is often suitable for labs that want a standard-looking output for everyday model production.
Patient Communication
When clinics show printed models to patients, yellow resin may look closer to traditional dental stone. This can make the model feel more familiar and less technical.
Photography for Case Records
Yellow resin can photograph well when the lighting is controlled. It may reduce the harsh glare sometimes seen on white materials, depending on resin opacity and surface finish.
Thermoforming and Aligner Model Workflows
For orthodontic thermoforming models, color is less important than heat resistance, dimensional stability, surface finish and repeatability. However, yellow models can still be useful because technicians can easily inspect anatomy and base edges before forming.
Gray Dental Model Resin: When It Makes Sense
Gray dental model resin is often selected for technical inspection, margin visibility, defect detection and digital workflow control. A neutral gray surface can make shadows, edges and small surface changes easier to see under controlled lighting.
Gray resin may be a good choice for:
Restorative Model Inspection
Gray models can help technicians inspect preparation margins, contacts, occlusal anatomy and surface transitions. The neutral tone often makes small features easier to see, especially when the resin has a matte finish.
Implant Model Checking
For implant model workflows, technicians may need to check scan body positions, analog placement, soft tissue model areas or component seating. Gray resin can support clearer technical inspection, although the resin indication and workflow must match the application.
Quality Control and Defect Detection
Gray surfaces can make scratches, layer lines, support marks and incomplete cleaning easier to notice. This can be useful for labs that run larger batches and need fast visual inspection.
Scanning and Digital Verification
Some scanning workflows may perform better with matte, non-glossy and visually stable surfaces. Gray resin can be useful when the model is used for scan verification, but the final result depends on scanner type, lighting, surface reflectivity and resin finish.
Technical Photography
Gray resin can look professional in technical product photos, QC documentation and internal training materials because it provides neutral contrast without strong warm color bias.
Practical Table: Yellow vs Gray Dental Model Resin
| Selection Factor | Yellow Dental Model Resin | Gray Dental Model Resin | Practical Recommendation |
|---|---|---|---|
| Visual appearance | Warmer, closer to dental stone or model plaster | Neutral, technical and high-contrast | Choose yellow for presentation; choose gray for inspection |
| Margin visibility | Good if resin is opaque and matte | Often easier to read under lab lighting | Choose gray for fine margin checking |
| Patient communication | More natural and familiar | More technical-looking | Choose yellow for chairside explanation or case display |
| QC inspection | Good for general checks | Better for seeing defects, scratches and surface marks | Choose gray for quality control workflows |
| Photography | Warm and professional with controlled lighting | Clean and neutral for technical photos | Use gray for documentation, yellow for presentation |
| Orthodontic models | Suitable for study models and aligner model checking | Suitable for technical review and batch inspection | Choose based on lab preference and thermoforming requirements |
| Restorative models | Suitable if margin contrast is sufficient | Often preferred for margin and contact inspection | Test both before production |
| Surface residue visibility | Residue may be less obvious depending on shade | Residue and gloss changes may be easier to detect | Gray may help detect cleaning problems |
| Perceived model detail | Softer, more natural | Sharper visual contrast | Gray may help technicians inspect fine features |
| Best-fit users | Clinics, routine dental labs, presentation-focused workflows | Dental labs, technical teams, QC-heavy workflows | Many labs keep both colors for different cases |
How to Choose by Application
1. For Dental Clinics
Dental clinics often care about model appearance, patient communication and simple workflow management. If the model will be shown to a patient or used for general case explanation, yellow dental model resin may be more suitable.
However, clinics that print models for internal fit checks, orthodontic planning or lab communication may also benefit from gray resin because it makes details easier to review.
Recommended choice: Start with yellow for presentation models. Add gray if your team frequently checks margins, surfaces or technical defects.
2. For Dental Labs
Dental labs usually care more about repeatability, surface detail, batch efficiency and technician inspection. Gray resin can be useful for technical work because it provides strong visual contrast. Yellow resin can still be useful for model delivery, presentation and traditional-looking outputs.
Recommended choice: Use gray for technical inspection and yellow for general model production or client-facing work.
3. For Orthodontic Workflows
For orthodontic models, resin color is secondary to dimensional stability, heat resistance, surface finish and workflow consistency. If the model will be used for thermoforming, confirm that the resin is suitable for that process. A nice color does not compensate for poor heat resistance or deformation during forming.
Recommended choice: Select resin based on thermoforming performance first, then choose yellow or gray based on inspection preference.
4. For Restorative Model Workflows
Restorative models often require clear margin visibility, stable fit, accurate contacts and good surface detail. Gray resin can be easier for technicians to inspect because the neutral shade highlights edges and fine geometry. Yellow resin may still work well if the resin is sufficiently opaque and the surface finish is matte.
Recommended choice: Test gray first for margin-heavy workflows. Use yellow when presentation and traditional model appearance are more important.
5. For Implant Model Workflows
Implant models may include analogs, gingival masks, scan body references or component seating checks. Color can help visual inspection, but the key factors are dimensional accuracy, fit stability, resin compatibility and workflow validation.
Recommended choice: Use gray for technical inspection. Use yellow if your lab prefers a more natural-looking base model. Always validate the workflow with real cases before routine production.
6. For Model-Making and R&D Teams
Model-making companies and research teams may choose resin color based on photography, prototype review, customer presentation or measurement workflow. Gray is often better for technical photos and defect review, while yellow may look more approachable for display and communication.
Recommended choice: Keep both colors available if your team handles both technical review and customer-facing samples.
Factors More Important Than Color
Resin Indication
The first question is not “yellow or gray?” It is “Is this resin intended for the model I want to print?”
A dental model resin is not automatically suitable for surgical guides, splints, dentures, temporary crowns or other intraoral applications. FDA guidance for additively manufactured medical devices emphasizes that testing and characterization depend on the device, material, technology and intended use.
Important dental notice: Customers should confirm resin indication, post-curing process and local regulatory requirements before clinical or intraoral use.
Printer Compatibility
Check whether the resin is compatible with your printer type and UV wavelength. Many resin printers use 405 nm light, but professional users should confirm compatibility instead of assuming.
Printer compatibility includes:
- LCD, SLA, DLP or MSLA system type
- UV wavelength
- Exposure settings
- Build plate adhesion
- Z-axis stability
- Light uniformity
- Recommended layer height
- Resin temperature control
Opacity and Surface Finish
Color alone is not enough. A yellow resin with poor opacity may show less detail than a gray resin with a matte surface. A glossy gray resin may be harder to scan or photograph than a matte yellow resin.
For dental models, look for:
- Matte or low-gloss surface
- Clear edge visibility
- Stable opacity after curing
- Low surface tack after proper cleaning and curing
- Consistent shade from bottle to bottle
Dimensional Stability
Professional dental workflows require repeatable dimensions. The printed model should remain stable through cleaning, drying, UV curing and handling. If the model is used for aligner thermoforming or component fitting, stability becomes even more important.
Color may affect how users perceive accuracy, but actual fit must be confirmed through measurement and case testing.
Cleaning and UV Curing
A dental model that looks good after printing can still fail if it is overwashed, underwashed, cured while wet or cured with the wrong UV process. UV-curable resin handling should follow supplier safety documents, SDS instructions and appropriate PPE practices. PAMA guidance for UV-curable 3D printing resins highlights the importance of SDS review, protective equipment, cleaning, storage and good housekeeping.
For dental and medical-adjacent workflows, biocompatibility and biological risk evaluation must be considered according to the material’s intended use. ISO 10993-1 is widely used as a biological evaluation framework for medical devices within a risk management process.
Workflow or Checklist: Choosing Yellow vs Gray Dental Model Resin
Use this checklist before placing a resin order or setting a standard lab workflow.
Step 1: Define the Application
Decide whether the model is for:
- Study model
- Orthodontic model
- Restorative model
- Implant model
- Diagnostic model
- Presentation model
- Thermoforming model
- Training or education model
- Internal QC model
Step 2: Confirm Resin Indication
Check whether the resin is intended for that application. Do not use general model resin for intraoral, surgical guide, splint, denture or temporary restoration workflows unless the resin documentation supports that use.
Step 3: Compare Color by Real Case Use
Print the same file in yellow and gray. Compare:
- Margin visibility
- Surface detail
- Layer line visibility
- Support mark visibility
- Photo quality
- Scan result
- Technician preference
- Dentist feedback
Step 4: Validate Printer Settings
Test exposure, lift speed, layer height and support design. Do not assume settings from one resin color will work exactly the same for another color.
Step 5: Standardize Cleaning
Use a consistent washing method. Record cleaning time, cleaning liquid, container condition and drying time.
Step 6: Standardize UV Curing
Use a controlled UV curing box. Record curing time, wavelength, part orientation and whether parts are fully dry before curing.
Step 7: Check Fit and Stability
Measure key dimensions and inspect fit after curing. For production work, repeat the test across several batches.
Step 8: Document the Final Workflow
Once the lab chooses yellow or gray resin, document:
- Resin brand and batch
- Printer model
- Slicing profile
- Layer height
- Washing method
- UV curing process
- Final application
- QC acceptance criteria
Common Mistakes to Avoid
Mistake 1: Choosing Resin Only by Color
Yellow may look more natural, and gray may look more technical, but neither color guarantees accuracy, strength or workflow stability. Always check the resin datasheet, intended use and real print performance.
Mistake 2: Using Model Resin for Intraoral Applications
A dental model resin is usually intended for models, not for direct intraoral use. Do not use it for surgical guides, temporary crowns, splints, dentures or other clinical applications unless the resin indication and local regulations support that use.
Mistake 3: Assuming Gray Is Always More Accurate
Gray resin may make details easier to see, but dimensional accuracy depends on the printer, exposure settings, resin formulation, curing process and model geometry.
Mistake 4: Assuming Yellow Is Always Better for Dental Work
Yellow resin may look familiar, but some workflows need stronger contrast. For margin checking, technical inspection and QC documentation, gray may be more practical.
Mistake 5: Ignoring Post-Curing Color Change
Some resins may change shade after UV curing. A yellow model may become darker or warmer. A gray model may shift slightly depending on resin chemistry and curing conditions. Test the final cured model, not only the freshly printed part.
Mistake 6: Overwashing or Underwashing
Overwashing can affect surface quality. Underwashing can leave sticky residue. Both problems may affect inspection, scanning and handling.
Mistake 7: Using One Resin for Every Dental Model
A dental lab may need different resins for different workflows. Study models, restorative models, orthodontic models and surgical guide workflows can have different material requirements.
Mistake 8: Not Asking Technicians for Feedback
The technician using the model every day should be part of the resin selection process. A resin that looks good in marketing photos may not be the easiest material to inspect under real lab lighting.
FAQ
Is yellow or gray dental model resin more accurate?
Neither color is automatically more accurate. Accuracy depends on the printer, resin formulation, exposure profile, layer height, support strategy, cleaning process, UV curing and model design. Gray resin may make details easier to inspect, but that is visual readability, not guaranteed dimensional accuracy.
Which resin color is better for dental model margins?
Gray dental model resin is often easier for margin inspection because it provides neutral contrast and can make fine edges more visible. However, a matte, opaque yellow resin can also work well. The best choice should be confirmed by printing the same restorative model in both colors.
Is yellow dental model resin better for patient communication?
Often, yes. Yellow or beige dental model resin may look closer to traditional dental stone, which can be easier for patients to understand. For clinics that show models during consultation, yellow resin can provide a warmer and more familiar appearance.
Is gray dental model resin better for scanning?
It may be, depending on the scanner, lighting and resin surface. Gray matte surfaces can reduce visual distractions and may help technical inspection. However, scanner performance depends more on surface reflectivity, opacity and scanning system settings than color alone.
Can I use dental model resin for surgical guides?
Not unless the resin is specifically indicated for surgical guide use and the full workflow is validated. Dental model resin and surgical guide resin are different material categories. Customers should confirm resin indication, post-curing process and local regulatory requirements before clinical or intraoral use.
Does resin color affect UV curing?
Color and pigment can affect light absorption, so curing behavior may vary between resin formulations and shades. Professional users should follow the resin supplier’s recommended printing and post-curing settings instead of assuming all colors cure the same way.
Which resin color should a dental lab buy first?
A dental lab focused on technical inspection, margins and QC may start with gray. A clinic or lab focused on presentation, study models and patient communication may start with yellow. Many professional users eventually keep both colors for different workflows.
Does gray resin show defects more clearly?
Usually, gray resin can make scratches, layer lines, support marks and residue easier to notice. This can help quality control teams catch post-processing problems faster.
Does yellow resin look more natural?
Yellow or beige resin often gives a warmer, more familiar dental model appearance. This can be useful for case presentation, model delivery and communication with non-technical users.
What information should I provide before asking Yidimu for resin advice?
Send your model size, printer model, resin requirement, application, expected workflow, post-curing method and any available STL file, image or sample photo. This helps Yidimu review whether yellow or gray dental model resin is more suitable for your production setup.
Conclusion
The choice between yellow vs gray dental model resin should be based on application, not preference alone. Yellow dental model resin is often practical for presentation, study models, clinic communication and traditional-looking dental outputs. Gray dental model resin is often practical for margin inspection, technical review, QC documentation and defect detection.
For professional dental labs, clinics, model-making teams and production users, the best approach is to test both colors using the same dental file, printer, layer height, cleaning process and UV curing workflow. Then compare margin visibility, surface detail, scan result, fit, photo quality and technician feedback.
To discuss a suitable Yidimu dental resin 3D printing workflow, contact Yidimu with your model size, resin requirement, application and expected workflow. Yidimu can help review suitable dental 3D printers, model resin options, UV curing equipment and post-processing steps for your production needs.
Optional References
- FDA: Technical considerations for additive manufactured medical devices and testing based on intended use.
- ISO 10993-1: Biological evaluation of medical devices within a risk management process.
- PAMA / RadTech: Proper handling guidance for UV-curable 3D printing resins.
- Dental material examples: NextDent Model 2.0 and Yidimu Precision Model Resin product information.