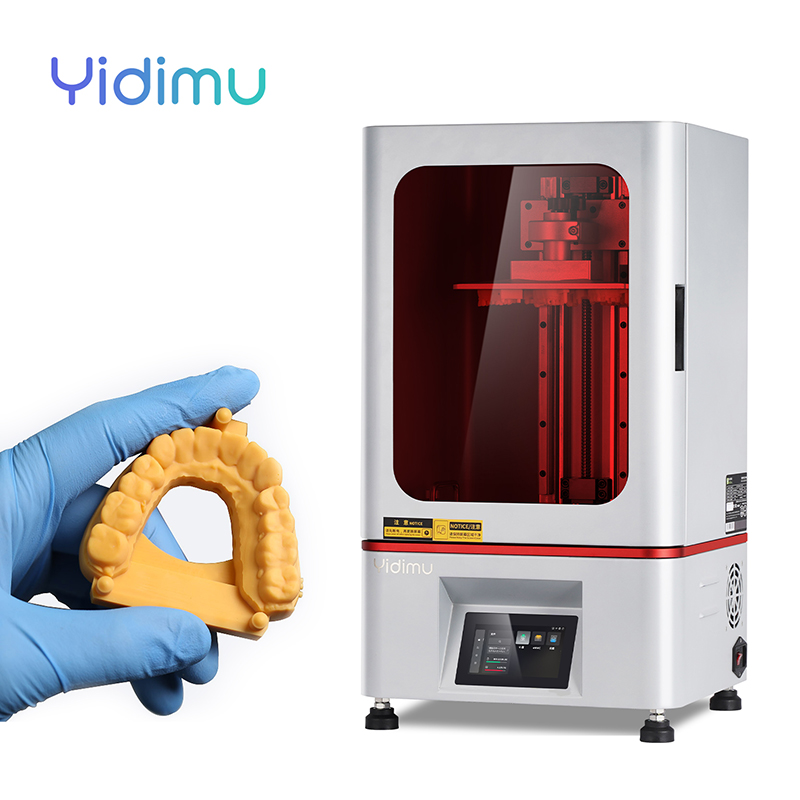
Clinics and dental labs typically look for a dental 3D printer for clinics and labs when they want more control over digital production — faster model preparation, shorter outsourcing cycles, better case communication or more consistent sample output.
For a clinic, the key question is practical: will the printer fit into the existing scan-design-print workflow without adding a heavy training burden? For a lab, the question is broader: can the printer support multiple dental applications, consistent output, higher daily volume and controlled post-processing?
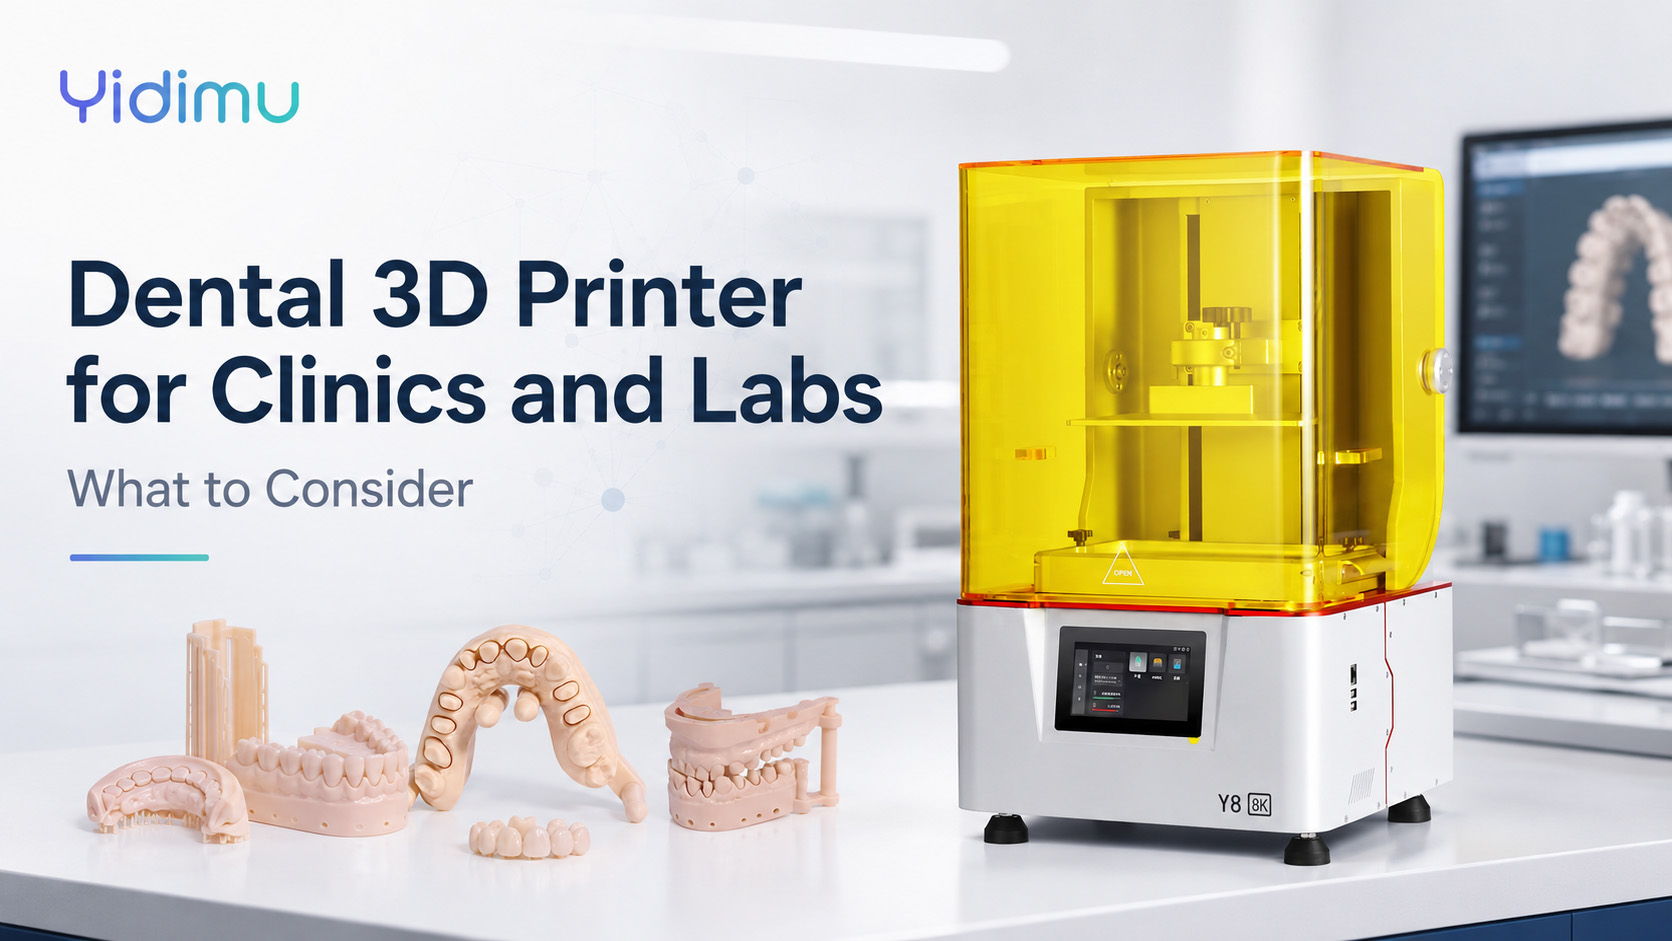
Dental resin 3D printing can support many professional workflows, but choosing correctly depends on the complete system rather than the printer alone. A reliable dental printing setup combines suitable resin, validated print settings, cleaning, UV curing, software, trained operators, maintenance routines and application-specific quality checks.
What a Dental 3D Printer Can Support
A dental resin 3D printer may support several professional applications, depending on the printer, resin, workflow and local requirements.
Common uses include:
- Dental arch models
- Orthodontic models
- Implant planning models
- Crown and bridge model support
- Surgical guide workflows
- Temporary dental applications
- Splint or night guard model preparation
- Denture try-in or model workflows
- Education and research models
- Customer approval samples
- Professional model-making for dental cases
Not every printer or resin is suitable for every dental application. A model resin used for diagnostic models, for example, may not be suitable for surgical guides or temporary restorations, and a resin intended for intraoral contact may require a specific washing and UV curing process. Customers should review the resin instructions, printer compatibility, curing equipment and regulatory requirements before using printed parts in clinical workflows.
Clinics vs Labs: Different Selection Priorities
Clinics and labs may both use dental 3D printers, but their priorities are not identical.
Clinics usually value ease of workflow, small-to-medium case output, predictable model quality and integration with intraoral scanning. A clinic may use 3D printing for treatment communication, diagnostic models, orthodontic planning, appliance model preparation or selected chairside workflows.
Labs tend to care more about throughput, repeatability, material flexibility, batch layout efficiency and operator control. A dental lab may run multiple printers, prepare many models per day and need stable results across different resins and case types.
Key Difference
Clinics typically adopt a dental 3D printer to improve internal digital workflow efficiency, while labs adopt one to increase production control, reduce bottlenecks and support more application types.
Practical Table: How to Choose a Dental 3D Printer for Clinics and Labs
| Selection Factor | Clinics Should Consider | Labs Should Consider | Why It Matters |
|---|---|---|---|
| Main application | Dental models, treatment communication, selected chairside workflows | Models, surgical guide workflows, temporary applications, appliance-related models, batch production | The application determines printer size, resin type and post-processing needs |
| Build size | Enough for daily model cases and common arch models | Larger or multiple build platforms for batch printing | Build volume affects productivity and case layout |
| Accuracy requirement | Stable model fit and clear surface detail | Repeatable output across many cases and materials | Dental workflows depend on consistency, not only advertised resolution |
| Resin compatibility | Model resin and selected dental resins | Wider resin range for different applications | Resin indication and curing process affect final use |
| Software workflow | Easy slicing, support generation and file preparation | Efficient batch nesting, parameter control and repeatable profiles | Software can affect production speed and operator error rate |
| Post-processing | Simple washing and UV curing setup | Controlled cleaning, curing, tracking and inspection | Post-processing can strongly affect part performance |
| Operator training | Low learning burden and clear daily routine | Standard operating procedures for multiple operators | Training reduces failed prints and inconsistent output |
| Production volume | Occasional to daily cases | Daily batch production or multiple shifts | Volume determines whether one printer is enough |
| Maintenance | Easy cleaning and routine checks | Preventive maintenance and spare part planning | Maintenance protects uptime and print stability |
| Technical support | Application guidance and setup help | Workflow troubleshooting and resin parameter support | Support is important when new applications are added |
Application Guide: Match the Printer to the Dental Workflow
Dental Model Printing
Dental model printing is one of the most common entry points for clinics and labs, used for diagnostic models, orthodontic review, crown and bridge model support or case presentation.
For this application, buyers should focus on surface detail, dimensional consistency, reliable resin profiles and efficient post-processing. The printed model may not enter the mouth, but accuracy and repeatability still matter because the model may be used for design review, fitting checks or appliance-related preparation.
Surgical Guide Workflows
Surgical guide workflows require more caution. The printer, resin, cleaning process and UV curing must match the material instructions and local requirements, and a guide resin may need specific exposure settings, washing time and post-curing conditions.
Customers should not assume that any transparent or rigid resin can be used for surgical guide applications. Resin indication, biocompatibility documentation, curing requirements and clinical responsibility must be confirmed before use.
Temporary Dental Applications
Temporary dental applications may require specific dental resins designed for temporary crowns, bridges or related workflows. The printed result can depend on material selection, shade requirement, surface finishing, post-curing and case design.
This type of use should be approached with careful workflow control. Customers should confirm resin indication, post-curing process and local regulatory requirements before clinical or intraoral use.
Orthodontic and Appliance-Related Models
Many clinics and labs print models used for orthodontic review or appliance preparation, including aligner model preparation, retainer model workflows, night guard model preparation or study models.
For these uses, the buyer should consider build volume, model layout, resin cost, thermal stability during downstream processes and repeatability between batches.
Education, Research and Demonstration Models
Dental schools, research centers and training teams may use resin 3D printing to prepare teaching models, demonstration cases and experimental samples. For this use, material cost, model detail, ease of operation and repeatable output matter most.
If the printed object is used only for demonstration or non-clinical research, the material requirements may differ from clinical or intraoral use, but the intended use should still be documented clearly.
Workflow or Checklist: From Scan to Finished Dental Print
A practical dental resin 3D printing workflow usually follows these steps.
Step 1: Confirm the Application
Define the exact use before printing. Is the part a dental model, surgical guide, temporary restoration, appliance model, research sample or display model? The application determines resin, printer settings and post-processing requirements.
Step 2: Prepare the Digital File
The workflow may start from an intraoral scan, desktop scan, CAD design or exported STL/OBJ file. Check the file for missing surfaces, non-manifold geometry, thin walls and incorrect scale.
Step 3: Select the Resin
Choose resin according to the application. Model resin, surgical guide resin, temporary dental resin and castable resin are not interchangeable, and resin compatibility with the printer and curing box should be confirmed.
Step 4: Slice and Support the Model
Use suitable orientation, support placement and layer settings. Poor orientation can increase print failure, surface defects or dimensional deviation.
Step 5: Print the Part
Check resin level, build platform condition, vat cleanliness and printing environment before starting. Stable resin temperature and clean optical surfaces help support consistent output.
Step 6: Wash the Printed Part
Clean uncured resin according to the resin instructions. Washing time, cleaning liquid and drying method can affect surface quality and final performance.
Step 7: UV Cure the Part
Post-curing is not optional for many dental resin workflows. Curing time, wavelength, intensity and temperature should follow resin guidance, since under-curing or over-curing may affect performance.
Step 8: Inspect the Result
Inspect model surface, support marks, fit area, deformation, cracks, incomplete features and dimensional consistency. For regulated or clinical workflows, inspection requirements may be stricter.
Step 9: Record the Workflow
Professional users should keep basic records: printer model, resin batch, print profile, curing process, operator and inspection result. This helps troubleshooting and workflow repeatability.
Step 10: Adjust and Standardize
After test printing, adjust orientation, support strategy, exposure settings or resin choice as needed. Once the result is stable, build a repeatable workflow for daily production.
Dental 3D Printer Selection Checklist
Use this checklist before choosing a printer:
- What dental application will be printed most often?
- What is the largest model size required?
- How many models or parts need to be printed per day?
- Which resin types are required?
- Does the resin require a specific post-curing process?
- Does the printer support the required file and slicing workflow?
- How much operator training is needed?
- Is UV curing equipment included in the workflow?
- What cleaning process will be used?
- How will failed prints be tracked and corrected?
- Does the supplier provide resin parameter support?
- Are spare parts, technical support and maintenance guidance available?
- Are there any local clinical or regulatory requirements for the intended use?
- Can sample printing be done before purchase?
Key Printer Features to Evaluate
Build Volume
Build volume should match the expected case size and production volume. A clinic may need enough space for daily arch models, while a lab may need larger capacity or multiple printers to handle batch production.
A larger build platform is not automatically better. The right choice depends on workflow efficiency, resin consumption, print time and operator workload.
Resolution and Accuracy
Many buyers focus on pixel size or layer height, but practical accuracy depends on more than resolution. Printer stability, light uniformity, resin behavior, calibration, support design, exposure settings and post-curing all affect the final result.
For dental workflows, repeatability is often more important than a single impressive specification.
Resin Compatibility
Dental resin workflows require careful material selection. Model resin may suit study models or working models, while surgical guide or temporary dental use may require specific indicated resins.
Customers should confirm whether the printer is compatible with the required resin and whether technical support is available for print settings.
UV Curing Equipment
A dental resin 3D printer should be considered together with cleaning and UV curing equipment. Post-curing can affect strength, surface stability, biocompatibility-related workflow requirements and final usability.
The curing box should match the resin requirements, including wavelength and curing procedure.
Software and File Handling
A practical dental workflow needs reliable software for file preparation, support generation, print layout and parameter management. Clinics may prefer simpler workflows, while labs may need more control for batch production.
Stability and Maintenance
Professional users should evaluate mechanical stability, Z-axis performance, vat handling, build platform cleaning, screen replacement, calibration routine and daily maintenance.
A printer used in a clinic or lab should not be judged only by the first test print, but by repeatable performance over time.
Common Mistakes to Avoid
Mistake 1: Choosing Only by Price
A low-cost printer may look attractive, but clinics and labs should calculate the full workflow cost. Resin, curing equipment, failed prints, operator time, maintenance and technical support all affect the real cost.
Mistake 2: Ignoring Resin Indication
Not all dental-looking resin is suitable for clinical or intraoral use. Customers should confirm resin indication, post-curing process and local regulatory requirements before clinical or intraoral use.
Mistake 3: Treating Post-Curing as a Minor Step
Post-curing is part of the production process. If curing is inconsistent, the final part may not perform as expected, so the curing process should be matched to the resin and application.
Mistake 4: Buying a Printer Without Defining the Application
A printer that works well for simple models may not be suitable for surgical guides, temporary dental parts or high-volume lab production. Start with the application, not the machine specification.
Mistake 5: Overlooking Operator Training
Dental 3D printing is a workflow skill. File preparation, support placement, cleaning, curing and inspection all require training. A good printer can still produce poor results if the workflow is not controlled.
Mistake 6: Expecting One Resin to Do Everything
Different dental applications need different material properties. Model resin, castable resin, temporary resin and guide resin each serve a different purpose, and using one resin for every case can create quality and compliance risks.
Mistake 7: Not Testing Real Cases Before Purchase
Sample printing helps the buyer evaluate surface detail, fit, workflow time and post-processing effort. Buyers should test real model files when possible, not only supplier demonstration files.
Troubleshooting Table: Common Dental Resin Printing Problems
| Problem | Possible Cause | What to Check |
|---|---|---|
| Model surface is rough | Wrong exposure, dirty resin, poor orientation or support marks | Resin condition, exposure settings, support placement and cleaning method |
| Print fails on the platform | Poor adhesion, platform leveling issue or incorrect first layer settings | Build platform, leveling, first layer exposure and resin temperature |
| Fine details are missing | Underexposure, low resolution setting or resin mismatch | Exposure profile, layer height, resin type and file detail |
| Model is deformed | Poor support, excessive curing, thin model area or cleaning issue | Orientation, support strategy, curing time and drying process |
| Fit is inconsistent | Calibration issue, resin shrinkage, unstable post-processing or file problem | Printer calibration, resin profile, curing workflow and digital file |
| Sticky surface after curing | Incomplete washing or curing mismatch | Washing time, drying step, curing box and resin instructions |
| Repeated failures in the same area | Vat film, screen, light source or file issue | Vat condition, LCD/light module, sliced file and build platform area |
How Yidimu Supports Professional Dental Printing Workflows
Yidimu provides resin-based 3D printing equipment, dental 3D printers, industrial resin 3D printers, flexible resin 3D printers, UV curing boxes, 3D printing resins and workflow support for professional users.
For dental clinics and labs, Yidimu can help review:
- Application type
- Model size
- Resin requirement
- Expected daily output
- Required surface detail
- Post-processing workflow
- UV curing needs
- Sample printing requirements
- Technical support needs
The goal is not only to sell a printer. The goal is to help customers choose a practical dental resin printing workflow that fits their actual production environment.
FAQ
What is the best dental 3D printer for clinics and labs?
The best dental 3D printer for clinics and labs depends on the application, required model size, resin type, daily production volume and post-processing workflow. Clinics may prioritize ease of use and compact workflow integration, while labs may need higher throughput, repeatability and wider resin compatibility.
Can clinics use a dental 3D printer for chairside workflows?
Some clinics may use resin 3D printing for chairside or near-chairside workflows, depending on the application and material. However, customers should confirm resin indication, post-curing process and local regulatory requirements before clinical or intraoral use.
What can dental labs print with resin 3D printers?
Dental labs may print models, orthodontic models, surgical guide workflows, temporary dental applications, appliance-related models, castable patterns, denture-related models and research samples, depending on the printer, resin and workflow.
Is resin 3D printing accurate enough for dental models?
Resin 3D printing can support high-detail dental model workflows when the printer, resin, file preparation, exposure settings and post-processing are controlled. Practical accuracy depends on the full workflow, not only machine resolution.
Do dental 3D prints need UV curing?
Many dental resin prints require UV post-curing. The curing process should follow resin instructions and may affect final strength, stability and suitability for the intended use.
Can one resin be used for all dental applications?
Usually no. Dental model resin, surgical guide resin, temporary dental resin and castable resin have different intended uses. Customers should choose resin according to the specific application and confirm compatibility with the printer and curing process.
What information should I provide before asking for a dental 3D printer quotation?
Provide the application, model size, daily output, resin requirement, expected workflow, available scan or CAD files, post-processing needs and whether the printed part is for model use, clinical workflow, intraoral contact or research.
Should a clinic buy one printer or outsource to a lab?
It depends on case volume, staff training, turnaround requirements and workflow control. A clinic with frequent model needs may benefit from in-house printing, while complex or regulated applications may still require lab collaboration.