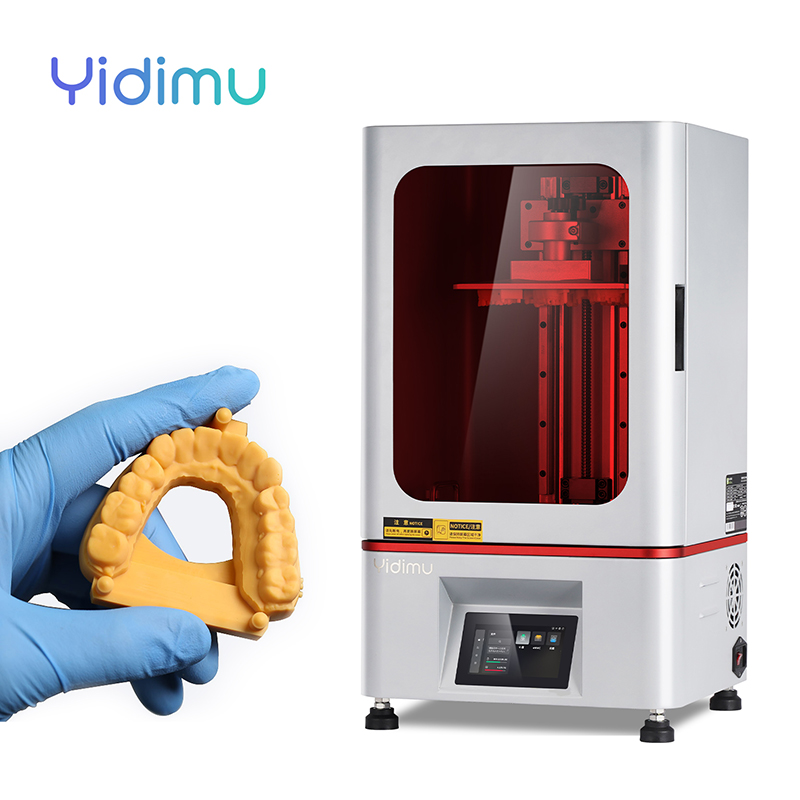
3D printing cost depends on the printer type, resin or material, model size, layer height, print time, labor, post-processing, failed-print risk and required quality control. For professional resin 3D printing, the real cost is not only the resin consumed. A complete cost estimate should include equipment investment, material usage, support structures, cleaning, UV curing, support removal, inspection, maintenance and operator time. For dental labs, factories and engineering teams, the better question is not only “how much does 3D printing cost?” but “what workflow cost will produce repeatable, usable parts?”
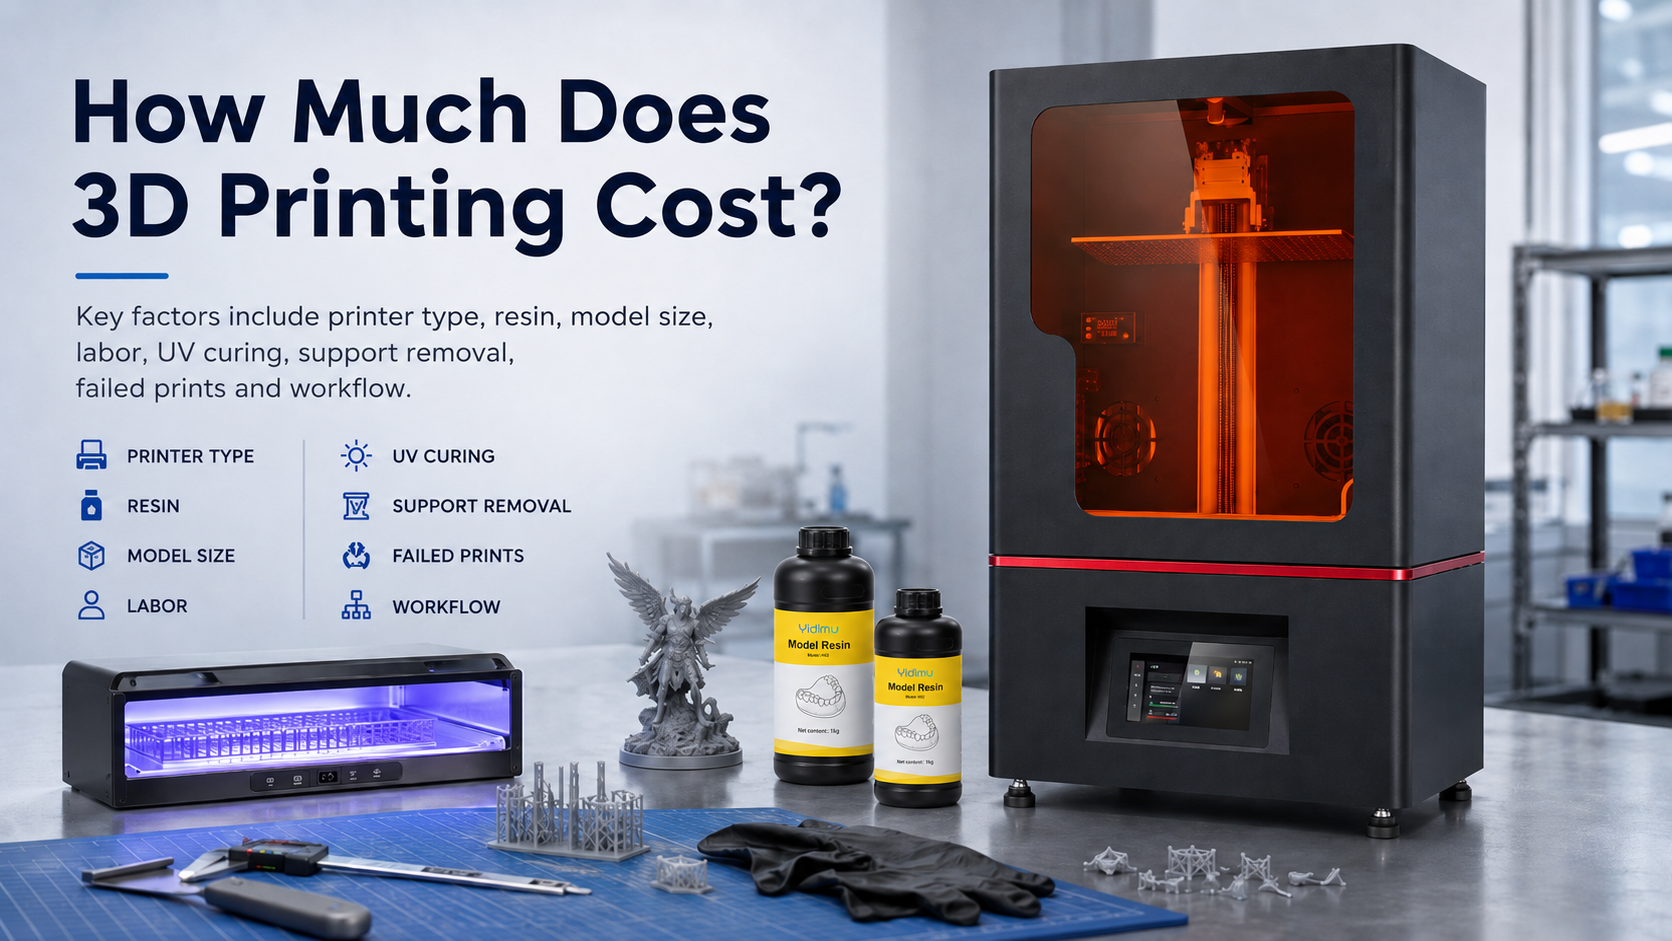
What Is Included in 3D Printing Cost?
The cost of 3D printing is usually calculated from several combined factors:
Total 3D Printing Cost = Material Cost + Machine Time + Labor + Post-Processing + Support/Waste + Quality Control + Maintenance + Overhead
For a simple display model, material cost may be the main concern. For an industrial prototype, dental model, flexible sample or small-batch production part, the larger cost may come from workflow control: print preparation, resin selection, support design, washing, UV curing, inspection and reprinting if the first attempt does not meet the requirement.
Additive manufacturing builds parts from digital designs layer by layer, which can reduce material waste compared with subtractive manufacturing in many applications, but cost still depends heavily on the process, material and quality requirements. NIST describes additive manufacturing as a process that fabricates three-dimensional products from digital designs, built layer by layer, and notes that measurements and standards are important for wider industrial use.
Why 3D Printing Cost Varies So Much
Two parts with similar dimensions can have very different printing costs. A solid block, a hollow dental model, a transparent cover, a flexible lattice and a fine-detail jewelry pattern may all require different resin types, support strategies, exposure settings, curing methods and inspection standards.
Professional resin 3D printing cost is affected by:
- Part volume: More resin generally means higher material cost.
- Part height: Taller parts may take longer to print, depending on orientation and layer height.
- Layer thickness: Thinner layers can improve surface quality but increase print time.
- Resin type: Standard model resin, dental model resin, castable resin, flexible resin and engineering resin may have different costs.
- Support structure: Supports consume resin and add labor for removal.
- Post-processing: Washing, drying, UV curing and finishing all require time and equipment.
- Failure risk: Complex geometries may require testing before stable production.
- Quality requirement: Industrial fit checks, dental accuracy and functional validation may require stricter workflow control.
- Production quantity: A single urgent prototype often costs more per part than a planned batch.
For companies comparing outsourcing and in-house printing, it is useful to review professional resin 3D printer options together with resin, curing and operator workflow requirements.
Main Cost Factors in Resin 3D Printing
1. Printer Investment
The first visible cost is the printer itself. A professional resin 3D printer is not only a box that cures resin. It affects build size, accuracy stability, workflow repeatability, print speed, ease of maintenance and the range of compatible applications.
A dental lab may need stable detail reproduction for models, surgical guides or temporary dental workflows. A factory may need a larger build volume for engineering prototypes, housings, fixtures or sample parts. A flexible resin application may require more careful control of exposure, support and post-curing.
When evaluating equipment cost, consider:
- Build volume
- XY resolution and layer control
- Z-axis stability
- Light source uniformity
- Resin vat design
- Temperature control, if required
- Software compatibility
- Maintenance access
- Technical support
- UV curing and cleaning workflow
Factories and engineering teams can compare industrial resin 3D printer options when planning prototype or sample-making cost.
2. Resin and Material Cost
Resin cost depends on the material type and application. A general model resin may be suitable for visual prototypes, while dental, castable, flexible or engineering resins may cost more because they are designed for specific performance or workflow requirements.
Common resin cost categories include:
| Resin Type | Typical Use | Cost Impact | Notes |
|---|---|---|---|
| Model resin | Dental models, display models, prototypes | Medium | Good for visual and dimensional review, depending on workflow |
| ABS-like resin | Engineering samples, housings, fit checks | Medium to higher | Useful when parts need more toughness than standard model resin |
| Flexible resin | Soft parts, lattice structures, shoe samples, cushioning tests | Higher | Requires careful support and post-curing control |
| Castable resin | Jewelry and casting patterns | Higher | Requires burnout workflow compatibility |
| Surgical guide or dental-specific resin | Dental workflow applications | Higher | Resin indication and curing process must be confirmed before use |
For material planning, buyers can review Yidimu resin materials and confirm the resin choice based on model size, surface requirement, accuracy need and final use.
3. Model Size and Resin Volume
The more resin a part consumes, the higher the direct material cost. However, resin volume is not always equal to final part volume. Supports, drainage holes, wall thickness, hollowing strategy and failed-print risk also affect total consumption.
For example:
- A hollow dental model may use less resin than a solid model.
- A large industrial shell may need thicker walls for stability.
- A flexible lattice may use less material but require more support testing.
- A transparent functional part may need extra finishing time to improve appearance.
Before quoting, the model should be checked for wall thickness, unsupported areas, trapped resin, sharp corners and drainage design.
4. Print Time and Machine Utilization
Machine time is a major cost factor. In resin 3D printing, print time is strongly affected by part height, layer thickness, exposure settings, lifting speed and the number of layers. Multiple parts printed in the same build can reduce per-part machine cost if the build platform is used efficiently.
For professional users, machine utilization matters. A printer that sits idle for most of the day has a higher effective cost per part. A planned workflow with repeated batches can lower the average cost because the printer, operator and post-processing equipment are used more efficiently.
5. Labor and Preparation Time
Labor cost is often underestimated. Even if the printer runs automatically, a professional workflow still requires human decisions before and after printing.
Labor may include:
- Checking the 3D model
- Repairing mesh errors
- Choosing orientation
- Adding supports
- Slicing the file
- Preparing resin
- Removing the build platform
- Washing the printed parts
- Drying before curing
- UV curing
- Removing supports
- Inspecting dimensions and surface quality
- Packing or preparing the part for the next process
For factories and labs that print every day, operator training and workflow standardization may reduce waste and improve consistency.
6. Cleaning, UV Curing and Post-Processing
A resin print is not complete when it leaves the printer. Cleaning and curing are essential parts of the cost. Printed parts usually need washing to remove uncured resin, then drying and UV curing according to resin requirements.
Post-processing cost may include:
- Cleaning liquid
- Washing container or machine
- UV curing equipment
- Gloves and protective items
- Drying time
- Support removal tools
- Surface finishing
- Waste handling
For repeatable results, buyers should consider UV curing equipment for resin prints as part of the full workflow, not as an optional accessory.
7. Quality Control and Reprint Risk
Professional 3D printing cost should include inspection. A cheap print that fails during assembly, dental fitting, casting or functional testing can become expensive.
Quality control may involve:
- Dimensional inspection
- Visual surface inspection
- Fit check with mating parts
- Resin curing verification
- Batch record keeping
- Model comparison
- Trial print before full production
Yidimu’s quality control approach can be considered when buyers evaluate equipment selection and long-term workflow stability.
Resin 3D Printing Cost Breakdown Table
| Cost Item | What It Includes | Why It Matters |
| Printer cost | Equipment purchase, depreciation, maintenance | Affects long-term part cost and production capacity |
| Resin cost | Actual part resin, supports, waste | Main direct material cost |
| Print time | Machine running time and build capacity | Affects scheduling and cost per batch |
| Labor | File preparation, operation, cleaning, inspection | Often larger than expected in professional workflows |
| Post-processing | Washing, drying, UV curing, support removal | Critical for part quality and material performance |
| Failed prints | Resin loss, machine time loss, operator time | Complex parts may require testing and parameter adjustment |
| Quality control | Measurement, visual inspection, documentation | Important for dental, industrial and repeat production |
| Overhead | Workspace, electricity, consumables, waste handling | Needed for realistic cost planning |
How to Estimate 3D Printing Cost Step by Step
Use this practical workflow before requesting a quote or planning in-house printing.
Step 1: Define the Application
Start with the real purpose of the part. Is it a visual model, dental model, surgical guide, engineering prototype, flexible sample, casting pattern or small-batch production part?
A visual display part and a functional verification part should not be priced the same way.
Step 2: Confirm Model Size and Quantity
Provide:
- STL, OBJ or other printable file
- Overall dimensions
- Number of parts
- Quantity per batch
- Whether parts are urgent or planned
Batch quantity can significantly affect unit cost.
Step 3: Choose the Resin Type
Select resin based on application requirements, not only price. Consider:
- Surface finish
- Detail requirement
- Strength or flexibility
- Heat resistance expectation
- Dental workflow requirement
- Casting or burnout requirement
- Color or transparency requirement
Dental users reviewing model or clinical workflows can start with dental 3D printing workflow options.
Step 4: Check Print Orientation and Supports
Orientation affects print time, surface quality, support marks and failure risk. A low-cost orientation may create poor surfaces or difficult support removal. A better orientation may take longer but produce more usable parts.
Step 5: Estimate Post-Processing
Ask whether the part needs:
- Standard washing and curing
- Support removal only
- Light sanding
- Transparent finishing
- Assembly preparation
- Dental workflow curing
- Casting preparation
- Functional testing
Post-processing should be included in the real cost.
Step 6: Add Inspection Requirement
If the part must fit another component or meet a dental workflow requirement, inspection should be included. For medical or dental applications, customers should confirm resin indication, post-curing process and local regulatory requirements before clinical or intraoral use. The FDA’s guidance for additive manufactured medical devices emphasizes technical considerations, testing and characterization for devices that include additively manufactured components.
Step 7: Compare Outsourcing and In-House Printing
Outsourcing can be practical for occasional prototypes. In-house printing may be more suitable when a team needs repeated samples, faster iteration, confidential design handling or better workflow control.
For users who want to test the workflow before buying equipment, a sample printing service can help evaluate material, surface, size and process feasibility.
Outsourcing Cost vs In-House 3D Printing Cost
| Option | Suitable For | Advantages | Cost Considerations |
| Outsourced printing | Occasional prototypes, first material tests, limited internal staff | No equipment investment, easier trial testing | Higher unit cost, less workflow control, lead time depends on supplier |
| In-house printing | Repeated models, daily dental workflow, factory prototyping, confidential design projects | Faster iteration, better process control, lower long-term cost when utilization is high | Requires printer, resin, UV curing, training, maintenance and workspace |
| Hybrid approach | Companies still testing demand | Use sample printing first, then move stable work in-house | Needs clear decision point based on monthly workload |
The right choice depends on part volume, frequency, urgency, application risk and internal technical capacity.
How Much Does 3D Printing Cost for Different Applications?
Dental Models
Dental model cost depends on model size, resin type, layer setting, accuracy requirement and curing workflow. A clinic or lab should not compare only resin consumption. Support placement, cleaning, UV curing and model inspection are important for repeatability.
For dental applications, users can review dental 3D printers for labs and clinics and confirm resin indication before clinical or intraoral use.
Industrial Prototypes
Industrial prototypes may involve housings, fixtures, assembly samples, appearance models or engineering test parts. Cost depends on size, wall thickness, surface requirement, resin strength and whether the part needs fit testing.
Large parts may require more resin and longer print time. Complex structures may need more file preparation and support work.
Flexible Resin Parts
Flexible resin cost can be higher because the material and workflow are more demanding. Soft parts, lattice samples and shoe-related prototypes may require more testing to balance flexibility, support removal and curing.
Teams working with soft or elastic structures can review flexible resin 3D printing systems before choosing equipment.
Small-Batch Production
Small-batch production cost depends heavily on stability. The cost of one successful part is less important than the cost of repeatable batches. Failed prints, inconsistent curing and poor support removal can raise the real cost quickly.
For small-batch work, standard operating procedures are often more valuable than choosing the lowest resin price.
Common Mistakes to Avoid
Mistake 1: Only Calculating Resin Volume
Resin volume is only one part of the cost. Machine time, labor, washing, curing and inspection may be equally important.
Mistake 2: Choosing the Cheapest Resin for Every Job
Low-cost resin may not match the application. A brittle resin used for a functional test may fail. A resin without suitable indication should not be used for dental clinical or intraoral purposes.
Mistake 3: Ignoring Support and Orientation
Poor support design can create surface damage, distortion or failed prints. Orientation should be chosen based on both cost and part quality.
Mistake 4: Forgetting UV Curing
Incomplete or inconsistent curing can affect surface feel, strength, stability and suitability for the intended workflow. Curing requirements vary by resin.
Mistake 5: Comparing Printer Price Without Workflow Cost
A printer with a lower purchase price may not reduce total cost if it causes more failed prints, slower workflow, higher maintenance or limited application compatibility.
Mistake 6: Skipping Sample Testing
For new materials or complex parts, sample testing can prevent expensive mistakes. This is especially important for flexible resin, transparent parts, dental workflows and industrial fit-check parts.
Buyer Checklist: What to Prepare Before Asking for a Quote
Before asking “how much does 3D printing cost?”, prepare the following information:
- 3D model file
- Overall dimensions
- Quantity required
- Application or use case
- Resin preference, if known
- Surface finish requirement
- Accuracy or fit requirement
- Whether the part is visual, functional, dental, flexible or castable
- Expected delivery schedule
- Whether post-processing or finishing is required
- Whether repeat production may be needed later
With this information, the quotation will be more accurate and easier to compare.
FAQ
How much does 3D printing cost per part?
It depends on material, size, print time, labor, post-processing and quality requirements. A small simple model may have low material cost, while a professional dental model, flexible sample or industrial prototype may cost more because it requires resin selection, support design, washing, UV curing and inspection.
Is resin 3D printing expensive?
Resin 3D printing can be cost-effective for detailed models, prototypes, dental workflows and small-batch samples, especially when it reduces mold-making time or supports faster design iteration. However, the real cost should include resin, equipment, labor, curing, maintenance and failed-print risk.
Why do two 3D printing quotes for the same model differ?
Quotes may differ because suppliers calculate resin, labor, machine time, support removal, finishing, quality inspection and delivery differently. Resin type, layer height, urgency and reprint risk can also change the price.
Does larger model size always mean higher cost?
Usually, larger models use more resin and may take longer to print, but cost also depends on orientation, hollowing, wall thickness, support structure and batch layout. A tall thin part may take longer than a wider but shorter part.
Does layer height affect 3D printing cost?
Yes. Thinner layers can improve surface detail but usually increase print time. For professional workflows, layer height should be selected based on the application rather than cost alone.
How can I reduce 3D printing cost?
You can reduce cost by optimizing wall thickness, hollowing suitable models, reducing unnecessary supports, printing multiple parts in one batch, choosing the right resin and confirming the workflow before full production.
Is in-house 3D printing cheaper than outsourcing?
It can be cheaper when the printer is used regularly and the team has a stable workflow. Outsourcing may be better for occasional prototypes or early material testing. In-house printing requires equipment, resin, UV curing, cleaning, maintenance and trained operators.
What information does Yidimu need to estimate cost?
Yidimu needs model size, resin requirement, application, expected workflow, surface requirement, production quantity and sample-making needs. This helps determine whether the part is suitable for dental, industrial, flexible resin or general model printing.
Conclusion
So, how much does 3D printing cost? The answer depends on the full workflow, not just the amount of resin used. For professional resin 3D printing, buyers should calculate printer capability, resin selection, model size, print time, labor, post-processing, UV curing, support removal, inspection and failed-print risk.
For factories, dental labs, clinics and engineering teams, the most reliable approach is to define the application first, test the material when necessary and evaluate cost based on repeatable workflow performance. If you are unsure which printer or resin is suitable, you can contact Yidimu with your model size, resin requirement, application, expected workflow and production or sample-making needs for a practical review.
References
- NIST additive manufacturing overview: additive manufacturing builds parts layer by layer from digital designs and is supported by measurement science and standards development.
- FDA guidance on technical considerations for additive manufactured medical devices, including testing and characterization considerations for devices with additively manufactured components.