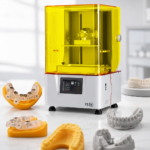
For professional 3D printing, the printer is a capital investment. Material is the recurring cost that affects every sample, prototype, dental model, flexible part, casting pattern, test fixture, and small-batch production run.
This is especially important for resin 3D printing because the real cost is not only the resin used inside the printed part. It also includes supports, failed jobs, cleaning, curing, operator handling, resin storage, and workflow control.
For companies using industrial resin 3D printers, the cheapest material is not always the lowest-cost material. A resin that reduces failed prints, improves surface quality, shortens post-processing, or supports stable batch production may reduce the real cost per usable part.
The same logic applies to dental laboratories, clinics, model-making workshops, and product development teams. Material cost should be calculated by usable output, not only by bottle price.
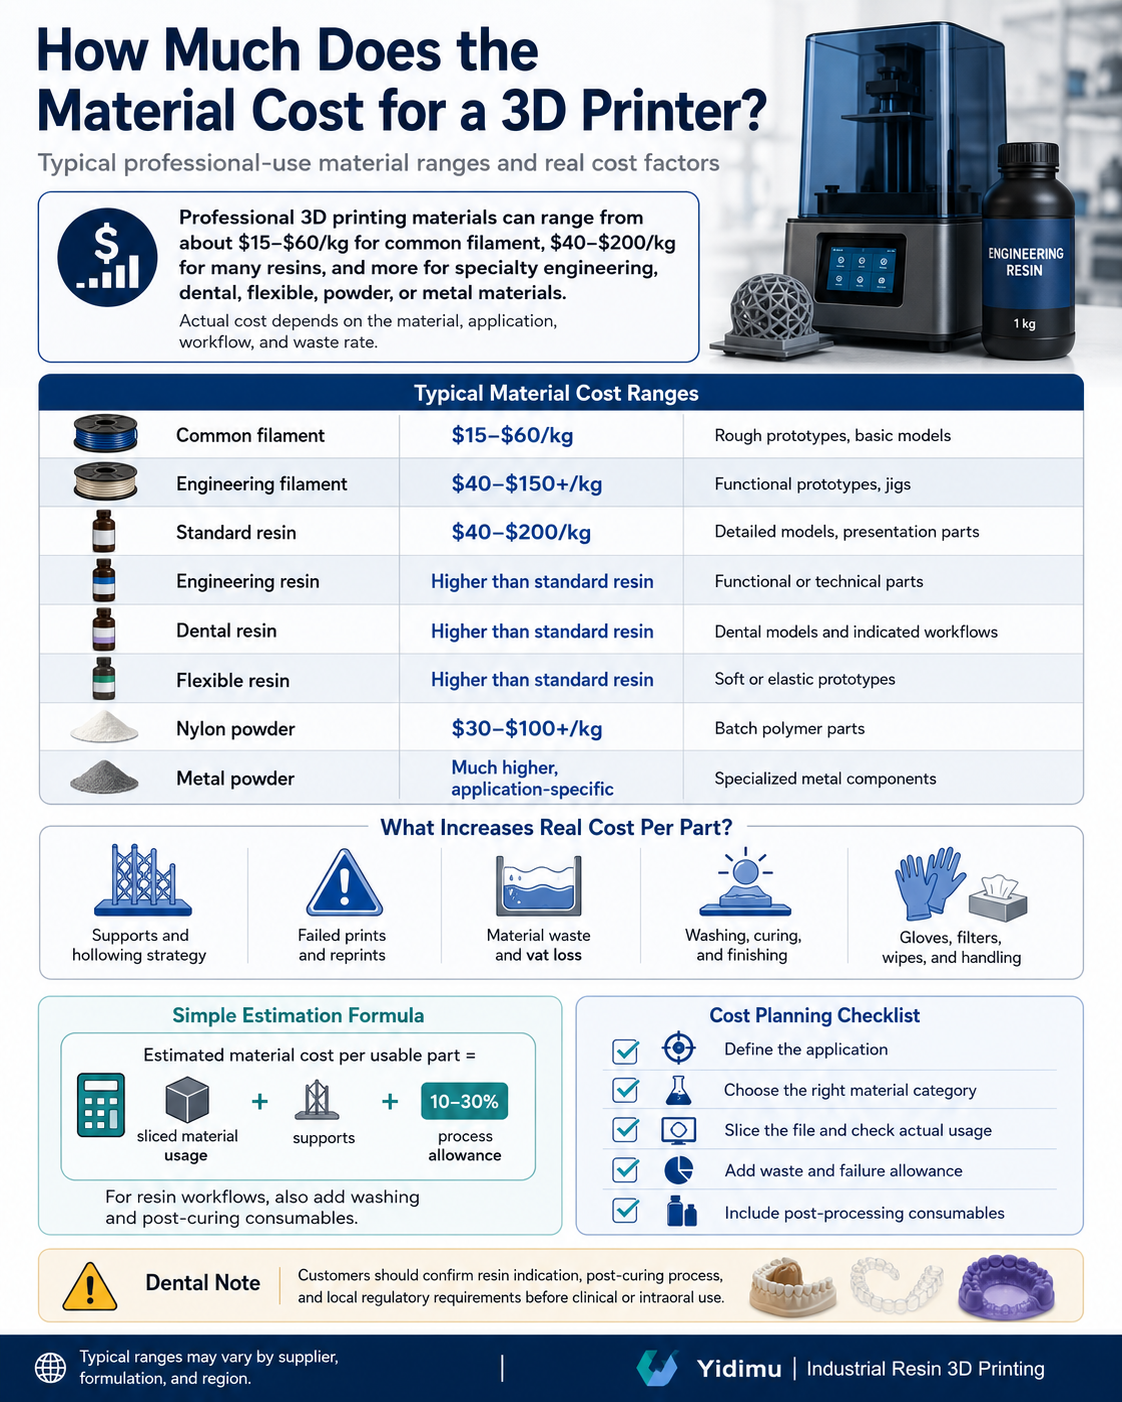
Practical Table: Typical 3D Printer Material Cost by Material Type
The table below gives practical budget ranges for professional buyers. These are general market ranges and should be confirmed with your supplier, resin specification, order volume, and local import cost. Public industry cost guides commonly show wide price differences between common filament, resin, engineering powder, and specialty materials.
| Material Type | Typical Material Cost Range | Common Professional Uses | Hidden Cost Factors | Buyer Notes |
|---|---|---|---|---|
| Common FDM filament | About $15–$60/kg | Rough prototypes, fixtures, large basic models | Failed prints, support material, drying, storage | Low material cost, but surface finish and fine detail may be limited |
| Engineering filament | About $40–$150+/kg | Functional prototypes, jigs, heat-resistant parts | Drying, enclosed printing, nozzle wear, warping risk | Useful when mechanical or thermal properties matter |
| Flexible filament | About $30–$100+/kg | Grips, soft parts, test components | Slower printing, feeding issues, support removal | Good for flexible prototypes but not always ideal for fine detail |
| Standard photopolymer resin | About $40–$200/kg | Visual models, prototypes, presentation parts | Supports, vat loss, washing, curing, PPE | Excellent detail and surface finish depending on printer and resin |
| Engineering resin | Often higher than standard resin | Functional prototypes, tooling aids, testing samples | Longer validation, curing control, resin matching | Properties depend strongly on resin, post-curing, and geometry |
| Dental resin | Usually higher than standard resin | Dental models, surgical guides, temporary applications depending on indication | Indication control, post-curing, documentation, local rules | Customers should confirm resin indication, post-curing process and local regulatory requirements before clinical or intraoral use |
| Flexible resin | Usually higher than standard resin | Soft parts, cushioning samples, shoe-related prototypes, flexible models | Resin handling, support strategy, curing control | Can support elastic parts depending on resin hardness and workflow |
| Nylon powder | About $30–$100+/kg, sometimes higher | Functional parts, batch production, complex geometries | Powder refresh rate, reuse ratio, cleaning, depowdering | Good for production-style polymer parts, but equipment and workflow cost are higher |
| Metal powder | Much higher and application-specific | Aerospace, medical, tooling, metal components | Machine type, gas, powder handling, safety, post-processing | Usually requires specialized equipment and strict safety controls |
For Yidimu’s target users, resin material is often the most relevant category because it can support detailed prototypes, dental models, industrial samples, casting models, and high-resolution professional production. You can compare application-specific options on the Yidimu 3D printing resins page.
What Counts as “Material Cost” in 3D Printing?
Many users calculate material cost too narrowly. They look at the price of one bottle or one spool and divide it by weight. That is only the base material cost.
For professional work, material cost should include:
1. Primary Printing Material
This is the resin, filament, powder, or metal material that becomes the printed object.
For resin 3D printing, the primary material is photopolymer resin. Different resins may be designed for model-making, dental models, flexible parts, casting patterns, temporary dental use, or engineering samples. The exact suitability depends on the resin formulation, printer settings, curing process, and application requirements.
2. Support Material
Supports are part of the real material cost. Resin printers often need supports to hold overhangs, reduce deformation, and improve print reliability. Even if the final part weighs 60 g, the slicer may estimate 80 g or more after supports are included.
For dental models, supports may be minimal depending on orientation. For complex industrial parts, supports can become a larger percentage of the material cost.
3. Process Waste
Resin printing may involve resin left on the build platform, resin trapped in hollow parts, residue in the vat, filtered resin, failed prints, test prints, and cleaning waste.
In a controlled production workflow, this waste can be reduced, but it should not be ignored.
4. Washing and Cleaning Consumables
Many resin workflows require washing before UV post-curing. Depending on the resin and workflow, this may involve isopropyl alcohol, detergent solution, water-washable resin workflow, cleaning tanks, wipes, filters, brushes, and containers.
PAMA’s handling guidance for UV-curable 3D printing resins recommends consulting resin Safety Data Sheets, using appropriate PPE, washing printed parts before post-cure, and fully post-curing objects according to manufacturer recommendations.
5. UV Post-Curing
UV curing is part of the material workflow. The cost may include electricity, UV curing box depreciation, curing trays, operator time, and validation.
For dental and functional resin applications, post-curing is not optional. It can affect final properties, handling safety, dimensional stability, and application suitability depending on the resin.
Yidimu supplies UV curing boxes and resin workflow support for professional users who need more stable post-processing.
6. PPE and Safety Consumables
Professional resin workflows may require nitrile gloves, eye protection, lab coats, absorbent pads, containers, ventilation, and waste handling. NIOSH notes that additive manufacturing hazards vary by technology, material, and environment, and may include inhalation exposure, dermal exposure to liquid or powdered materials, and fire or mechanical hazards.
7. Failed Prints and Reprints
A failed print is material cost with no usable output. For professional users, reducing failure rate can be more valuable than saving a few dollars per bottle.
A stable printer, correct resin profile, proper orientation, controlled environment, and trained operator can reduce real material cost per accepted part.
How to Calculate Resin Material Cost Per Part
For resin 3D printing, the simplest practical formula is:
Material cost per part = sliced resin usage × resin cost per gram × process allowance
A more complete version is:
Total material cost per usable part = resin used in part and supports + resin waste allowance + washing consumables + curing consumables + PPE + expected failure allowance
Example Calculation
Assume a professional prototype uses:
- Sliced resin usage including supports: 85 g
- Resin cost: $90/kg
- Resin cost per gram: $0.09/g
- Process allowance: 20%
- Washing, gloves, wipes, and small consumables: estimated separately
Basic resin cost:
85 g × $0.09 = $7.65
With 20% process allowance:
$7.65 × 1.2 = $9.18
This means the resin portion may be about $9.18 before labor, machine time, washing solvent, curing, quality inspection, packaging, and overhead.
For a factory or dental lab, this calculation should be done using slicer data, not only finished part weight.
Workflow or Checklist: How to Estimate 3D Printer Material Cost Correctly
Use this checklist before quoting internal production, sample printing, or batch work.
Step 1: Define the Application
Ask what the part is for:
- Visual model
- Dental model
- Surgical guide
- Temporary dental application
- Engineering prototype
- Flexible part
- Casting pattern
- Factory sample
- Functional test part
The application determines the resin type, curing requirement, safety requirement, and cost level.
Step 2: Choose the Material Category
Select the material based on required properties, not only price.
For example:
- For visual prototypes, a standard model resin may be enough.
- For dental models, use a dental-indicated resin suitable for the intended workflow.
- For soft parts, consider flexible resin 3D printers and matching flexible resin.
- For engineering samples, check whether ABS-like, tough, or application-specific resin may be more suitable.
Step 3: Slice the File
Use slicing software to estimate actual resin usage. Include:
- Part volume
- Supports
- Raft or base structure
- Hollowing strategy
- Drainage holes
- Layer height
- Orientation
Do not estimate from finished part size by eye.
Step 4: Add a Process Allowance
For professional resin printing, add a process allowance for:
- Resin on the build plate
- Resin remaining in cavities
- Filtering loss
- Vat handling
- Support removal loss
- Test prints
- Failed prints
A practical allowance may range from 10% to 30%, depending on operator skill, part complexity, printer stability, and production maturity.
Step 5: Add Post-Processing Consumables
Include:
- Washing solution
- Cleaning containers
- Filters
- Gloves
- Wipes
- Waste bags
- UV curing process
- Finishing tools
These costs are small per part but significant across monthly production.
Step 6: Include Failed Print Risk
For new materials, new geometries, thin walls, dental indications, flexible parts, or large flat models, include a higher test and failure allowance until the workflow is stable.
Step 7: Separate Material Cost from Production Cost
Material cost is not the same as total part cost. A complete quote may also include:
- Machine time
- Labor
- Design or file repair
- Support removal
- Cleaning
- Curing
- Inspection
- Packaging
- Machine depreciation
- Maintenance
- Electricity
- Waste disposal
This distinction is important for purchasing teams comparing in-house printing with outsourced production.
Step 8: Review Monthly Material Consumption
For production planning, calculate monthly usage:
Monthly resin demand = average resin per part × monthly part quantity × process allowance
This helps buyers estimate how many bottles or drums of resin they need, how often to reorder, and whether bulk purchasing is practical.
How Much Does Resin Material Cost Compared with Filament?
In many cases, resin costs more per kilogram than common filament. However, cost per kilogram is not the only factor.
Resin printing can produce fine details, smooth surfaces, and small features that may reduce sanding, finishing, or reprinting. For dental models, jewelry casting patterns, miniaturized prototypes, and high-detail industrial samples, resin may offer a better cost-to-result ratio even when the raw material price is higher.
Filament printing may be more economical for large, rough, structural, or simple geometry parts. Resin printing may be more suitable when surface finish, detail, dimensional consistency, and presentation quality matter.
For professional buyers, the decision should be based on:
- Required detail
- Surface finish
- Part size
- Tolerance needs
- Mechanical property requirements
- Post-processing workload
- Batch quantity
- Failure rate
- Required documentation
- End-use environment
If your team mainly prints precise prototypes, dental models, display samples, and detailed parts, a Yidimu industrial resin 3D printer may be more relevant than a low-cost filament machine.
Material Cost by Professional Application
Factory Prototyping
Factories often use resin 3D printing before mold making, CNC machining, or mass production. The material cost should be compared with the cost of delayed design decisions, repeated outsourcing, or tooling mistakes.
For factory prototypes, material selection may focus on:
- Surface detail
- Dimensional stability
- Assembly checking
- Visual presentation
- Fit testing
- Short lead time
- Repeatability
A slightly higher resin cost may be acceptable if it reduces design iteration time.
Dental Clinics and Dental Labs
Dental applications require extra caution. Material cost is only one part of the decision.
Dental users should consider:
- Resin indication
- Printer compatibility
- Washing process
- UV post-curing process
- Biocompatibility documentation where applicable
- Local regulatory requirements
- Model accuracy
- Batch repeatability
- Operator training
Customers should confirm resin indication, post-curing process and local regulatory requirements before clinical or intraoral use.
For dental production, Yidimu dental 3D printers can support professional workflows depending on resin selection, file preparation, curing process, and quality control.
Model-Making Companies
Model-making companies often care about surface quality, detail, painting, sanding, and client presentation. In this case, the material cost per part should include finishing labor.
A cheaper material that causes rough surfaces, deformation, or poor painting results may increase total project cost.
Product Development Teams
Research and development teams usually need fast iteration. Material cost should be measured against engineering time.
For R&D, resin choice may change between stages:
- Early concept: lower-cost model resin
- Fit testing: more stable resin
- Functional trial: engineering resin
- Flexible trial: flexible resin
- Presentation sample: high-surface-quality model resin
Flexible Part Development
Flexible resin often costs more than standard model resin, but it can support applications where ordinary rigid resin is not suitable.
Typical uses include:
- Soft-touch prototypes
- Cushioning samples
- Elastic test parts
- Footwear-related prototypes
- Rubber-like model components
- Industrial fit or sealing demonstrations
Flexible material cost should include slower setup, support strategy, curing control, and handling requirements.
How to Reduce 3D Printer Material Cost Without Hurting Quality
Material cost reduction should not mean choosing the cheapest resin. A better approach is to reduce waste and improve yield.
1. Improve Orientation
Correct orientation can reduce supports, improve surface quality, and lower failure risk.
2. Use Hollowing Carefully
Hollowing can reduce resin consumption, but it must be done properly. Add drainage holes where needed, avoid trapped resin, and confirm whether hollow parts are acceptable for the application.
3. Match Resin to Application
Do not use expensive engineering resin for a simple visual model. Do not use ordinary model resin for a dental or functional application that requires a specific indication.
For general model work, a material such as Yidimu Model Resin may be suitable depending on required surface quality and workflow.
4. Standardize Resin Profiles
For production users, unstable exposure settings cause waste. Build a validated resin profile for each printer, resin, layer height, and application.
5. Train Operators
Many material losses come from human workflow problems: poor mixing, wrong exposure, contaminated resin, careless support removal, or incorrect curing.
6. Track Failure Rate
Record failed prints by cause:
- Support failure
- Poor adhesion
- Warping
- Cracking
- Over-curing
- Under-curing
- Resin contamination
- File error
Reducing failure rate often saves more money than negotiating a lower bottle price.
7. Use the Right Printer Size
A printer that is too small may require more print batches. A printer that is too large may increase vat handling and material exposure. Choose build volume based on real part size, batch quantity, and workflow.
Yidimu can help users compare model size, build area, resin type, and production workflow before choosing a printer.
Common Mistakes to Avoid
Mistake 1: Calculating Only the Finished Part Weight
The printed part weight does not include supports, failed parts, vat loss, and cleaning waste. Always use slicer data plus a process allowance.
Mistake 2: Buying the Cheapest Resin for Professional Work
Low resin price may lead to poor detail, weak parts, unstable results, odor issues, or higher failure rates. For professional users, consistency matters.
Mistake 3: Ignoring Post-Curing
For resin printing, post-curing can affect final properties and handling. PAMA recommends fully post-curing printed objects according to printer or resin manufacturer recommendations before handling without gloves.
Mistake 4: Treating Dental Resin Like Ordinary Model Resin
Dental applications require careful confirmation of indication, workflow, curing, and local requirements. FDA notes that 3D printed medical devices are subject to regulatory requirements like devices made by other manufacturing processes.
Mistake 5: Ignoring Safety Consumables
Gloves, eye protection, ventilation, cleaning materials, and waste handling are part of the material workflow. They should be included in cost planning.
Mistake 6: Not Separating Material Cost from Total Production Cost
A part that uses $5 of resin may still cost much more after labor, machine time, washing, curing, support removal, inspection, and packaging.
Mistake 7: Using One Material for Every Application
One resin cannot solve every professional problem. Model resin, ABS-like resin, water-washable dental model resin, casting resin, temporary dental resin, and flexible resin serve different needs.
Mistake 8: Ignoring Storage Conditions
Resin should be stored according to supplier instructions. Heat, sunlight, contamination, and poor sealing may affect usability.
Conclusion
So, how much does the material cost for a 3D printer? For professional users, common filament may cost tens of dollars per kilogram, while resin materials often range from moderate to high cost depending on performance, indication, and workflow. Specialty dental, flexible, engineering, powder, and metal materials can cost much more.
For factories, dental labs, clinics, model-making companies, and R&D teams, the real question is not only the bottle price. The better question is:
How much does it cost to produce one usable, accepted, post-processed part?
To answer that, calculate sliced material volume, supports, process allowance, washing, curing, PPE, failed print risk, and application requirements.
Yidimu can help professional users choose a suitable printer, resin, curing workflow, and production plan. When contacting Yidimu, prepare your model size, resin requirement, application, expected workflow, batch quantity, and surface or accuracy expectations. This allows the technical team to recommend a more practical solution instead of only quoting a material price.
For project evaluation, contact Yidimu through Contact Us and share your files, part photos, or application requirements.
FAQ
How much does 1 kg of 3D printer material cost?
Common filament may cost about $15–$60 per kg, while many resin materials may cost about $40–$200 per kg. Engineering, dental, flexible, powder, and metal materials can cost more depending on performance requirements, supplier, order quantity, and local market conditions.
Is resin more expensive than filament?
Usually, resin costs more per kilogram than common filament. However, resin may provide finer detail, smoother surfaces, and better small-feature reproduction, which can reduce finishing time or reprints in professional applications.
How much resin does one 3D print use?
It depends on part volume, supports, orientation, hollowing, and layer settings. The best way to estimate resin usage is to slice the 3D file and check the material estimate. Then add a process allowance for supports, vat loss, and possible failed prints.
How do I calculate resin cost per print?
Use this simple formula:
Resin cost per print = sliced resin weight × resin price per gram × process allowance
For professional quoting, also add washing consumables, curing, PPE, support removal, inspection, and failure allowance.
Why are dental 3D printing materials more expensive?
Dental materials may require specific indications, documentation, workflow control, post-curing requirements, and quality consistency. Customers should confirm resin indication, post-curing process and local regulatory requirements before clinical or intraoral use.
Are water-washable resins cheaper to use?
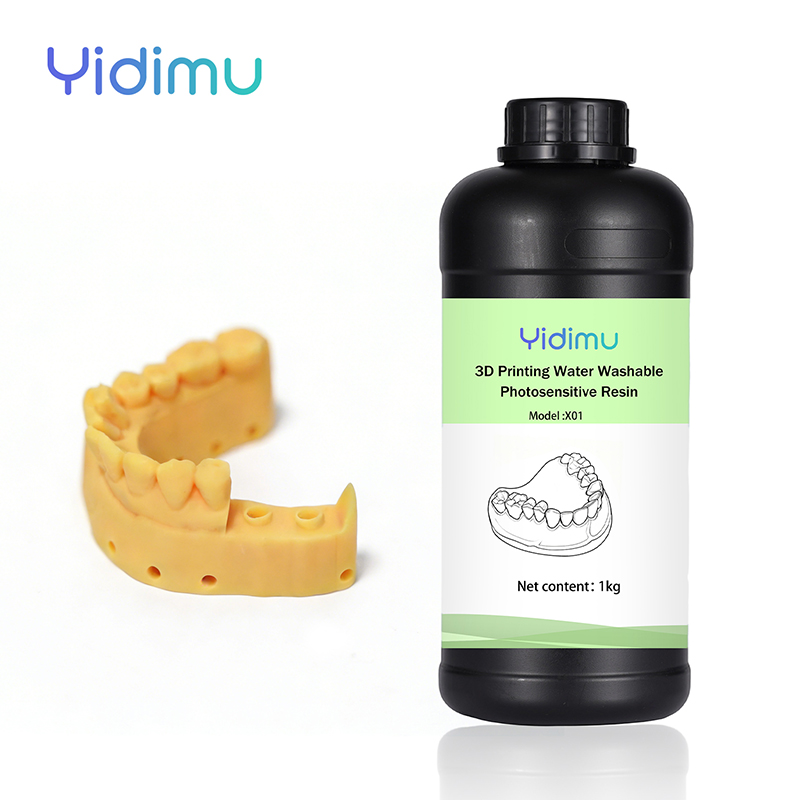
Water-washable resin may reduce dependence on alcohol-based washing in some workflows, but total cost depends on resin price, cleaning procedure, wastewater handling, print success rate, and final application. For dental model workflows, users can review Yidimu X01 Water Washable Dental Model Resin.
Does support material increase 3D printing cost?
Yes. Supports can significantly increase material consumption, especially for complex resin prints. Orientation, support density, and part geometry affect the final resin cost.
How can a factory reduce 3D printing material waste?
Factories can reduce waste by standardizing resin profiles, improving orientation, training operators, using correct curing settings, filtering resin properly, tracking failure causes, and choosing the right printer size for the expected batch workflow.
Is the cheapest 3D printing material good enough for professional use?
Not always. The cheapest material may be suitable for rough visual checks, but professional users should consider surface finish, accuracy, strength, curing behavior, safety documentation, and failure rate.
What information should I provide to get an accurate material cost estimate?
Provide the model size, STL/3MF file if available, target application, required resin type, expected quantity, surface finish requirements, tolerance expectations, and post-processing needs.