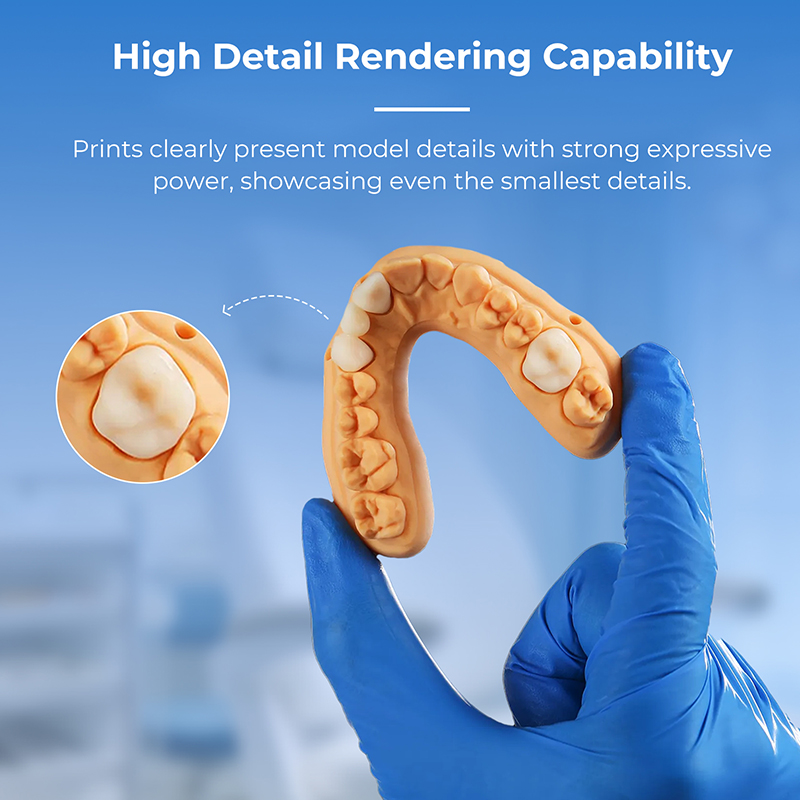
Surface finish is not only a cosmetic concern. In professional resin 3D printing, surface quality affects product presentation, model readability, fit checking, mold development, scanning time, polishing effort, and customer acceptance. A dental model with rough occlusal detail is harder to inspect. A shoe mold sample with visible support scars may not accurately represent the intended surface. An industrial prototype with layer lines across a curved surface can create confusion during design review.
Resin 3D printing is capable of fine detail, but the final result depends on more than machine resolution. Vat photopolymerization builds parts layer by layer using light-cured resin, and the printed surface reflects the interaction between slice thickness, XY pixel or laser resolution, material behavior, exposure control, separation force, support strategy, and post-processing. Washing and UV post-curing are part of the resin workflow, not optional afterthoughts—curing with suitable light and controlled parameters can affect final part properties depending on the resin system.
The right question for professional users is not simply “How smooth can this printer print?” A more useful question is: “What printer, resin, settings, post-processing approach, and finishing standard are appropriate for this application?”
Main Causes of Poor Surface Finish on Resin Prints
- Visible Layer Lines
Layer lines appear when the layer-by-layer build structure becomes visible on the part surface. This is especially common on shallow curved surfaces, large angled planes, domes, dental arches, industrial housings, and display models. Reducing layer height can decrease vertical stepping, but it increases print time, and the improvement also depends on model geometry, resin, exposure settings, and printer stability.
Horizontal layer defects can also result from unstable printing conditions. Phrozen’s resin troubleshooting guide identifies incorrect exposure, insufficient lift height, inadequate rest time or light-off delay, weak supports, hollow print setup problems, and worn release film as possible causes of horizontal layer lines.
- Pixel or Voxel Lines
LCD and MSLA resin printers cure resin through a pixel-based light pattern. On some surfaces—particularly smooth curves or shallow slopes—the square pixel structure may create visible voxel or pixel lines. This does not necessarily indicate a defective printer; it can be a normal artifact of pixel-based resin printing. Anti-aliasing, image blur settings, orientation, and resin choice may help reduce the effect, but these should be tested carefully, as excessive smoothing can reduce fine detail.
- Support Marks
Support marks are among the most common reasons resin prints look unfinished. They typically appear as small bumps, pits, white marks, torn spots, or rough patches where support tips contacted the model. The issue tends to be worse when supports are placed on visible surfaces, when contact tips are too large, when supports are removed after full curing, or when the part becomes brittle from over-curing.
For professional production, support placement should be planned before printing. The goal is not to minimize the number of supports, but to position them where they can hold the part safely without contacting critical visible or functional surfaces.
- Sticky or Glossy Residue
A sticky surface usually means uncured resin has not been fully removed, or the part was cured while still wet with resin or solvent. Inconsistent washing can leave glossy patches, soft areas, or cloudy residue. Professional post-processing equipment often uses controlled agitation to remove residual resin more consistently than manual dipping. Yidimu describes automated washing in agitated solvent as a method for removing uncured surface resin before drying and curing.
- Overexposure or Underexposure
Exposure settings affect more than print success. Overexposure can soften fine edges, enlarge contact areas, and reduce detail clarity. Underexposure can cause weak layers, rough surfaces, separation defects, or incomplete features. Resin settings should be calibrated for the specific printer, resin, layer height, temperature, and application.
- Poor Drying Before UV Curing
Parts should generally be dry before post-curing, unless the resin manufacturer specifies otherwise. Solvent trapped in holes, channels, support bases, or internal cavities can cause stains, uneven surfaces, or dimensional issues. Hollow parts require careful drainage, washing, and drying.
- Wrong Resin for the Surface Requirement
Not every resin is formulated for the same surface outcome. Dental model resin, casting resin, engineering resin, flexible resin, water-washable resin, and temporary dental resin can behave quite differently during printing, cleaning, curing, sanding, and polishing. A fast-printing resin may not give the best surface for polishing. A flexible resin may require a different support and curing strategy than a rigid model resin.
Practical Table: Surface Problem, Likely Cause, and Fix
| Surface problem | Likely cause | Practical fix | Professional note |
|---|---|---|---|
| Visible layer lines on curved areas | Layer height too large, shallow model angle, unstable lift settings | Reduce layer height, reorient model, review lift and rest settings | Lower layer height improves surface but increases print time |
| Pixel or voxel lines | LCD pixel structure, slicer settings, model orientation | Test anti-aliasing, adjust blur carefully, reorient model | Too much smoothing may reduce sharp details |
| Rough support scars | Support tips too large, supports on visible surfaces, removal after curing | Move supports to hidden areas, reduce contact size where safe, remove before final cure when suitable | Do not weaken supports to the point that the print fails |
| Sticky surface | Incomplete washing, contaminated solvent, curing before drying | Refresh wash liquid, increase agitation, dry fully before curing | Check resin SDS and handling instructions |
| White marks after curing | Solvent residue, stress marks, rough sanding, trapped resin | Improve drying, use finer sanding sequence, avoid over-washing | White marks may be cosmetic or process-related |
| Blurry fine detail | Overexposure, excessive anti-aliasing, unsuitable resin | Recalibrate exposure, reduce smoothing, choose detail resin | Test with real production geometry |
| Uneven glossy and matte areas | Inconsistent washing, manual handling, partial curing | Standardize washing, drying, curing time, and part spacing | Use a documented workflow for repeated production |
| Surface cracks or micro-tears | Weak supports, peeling force, hollowing issues, resin stress | Improve supports, add drain holes, review lift speed and curing | Large hollow parts need controlled design and post-processing |
| Sanding scratches | Starting too coarse or skipping grit steps | Sand progressively from coarse to fine; wet sand if suitable | Wear PPE and control dust |
| Poor polished finish | Resin not suitable for polishing or insufficient sanding | Use finer grits, buffing, coating, or painting | Confirm whether coating is acceptable for the final application |
Step-by-Step Workflow to Improve Surface Finish on Resin Prints
Step 1: Define the Surface Standard Before Printing
Start by deciding what “acceptable surface finish” means for the intended application. A dental study model, jewelry master, industrial housing prototype, shoe sample, flexible component, and engineering test part do not all require the same surface quality.
Ask these questions before printing:
- Is the part primarily for visual review, fit testing, molding, scanning, dental model use, or functional testing?
- Which surfaces are visible or critical?
- Can the part be sanded, painted, coated, or polished?
- Does the material need flexibility, heat resistance, biocompatibility, castability, or dimensional stability?
- Is the part intended for dental or regulated use?
For dental applications, customers should confirm resin indication, post-curing process, and local regulatory requirements before clinical or intraoral use. The FDA’s additive manufacturing medical device guidance notes that AM medical devices involve process and characterization considerations, particularly when the workflow affects final device performance.
Step 2: Choose the Right Resin
Surface finish starts with material selection. Choose resin according to the application, not only by price or color.
For example:
- Dental model resin may support clear margin visibility and model detail.
- Gray model resin can make surface defects easier to inspect.
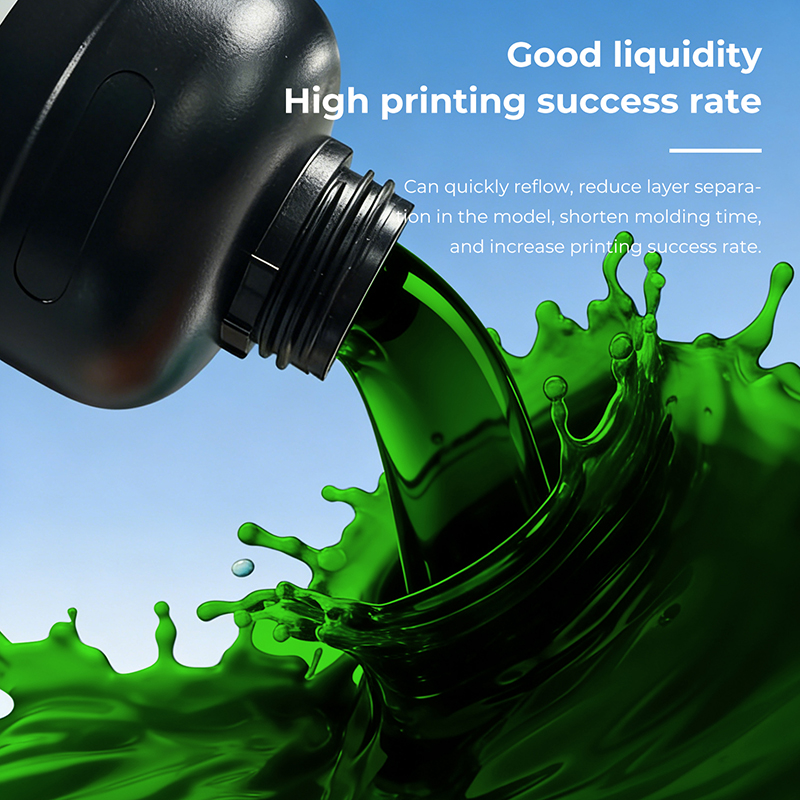
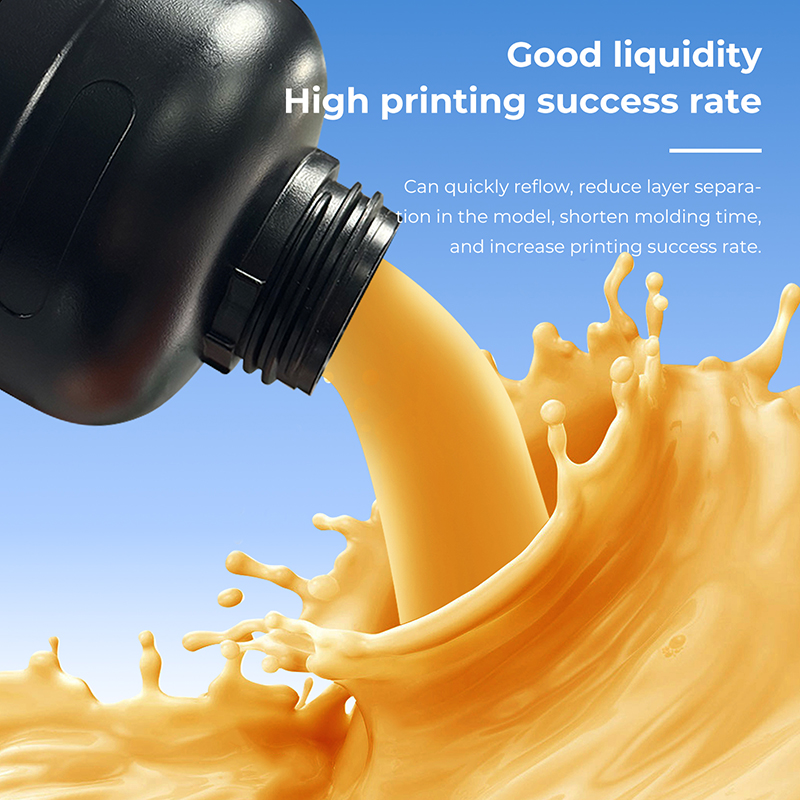
- Yellow or beige dental model resin may improve visual contrast in dental workflows.
- Flexible resin may require adjusted support placement and post-curing control.
- Water-washable resin can simplify cleaning, but contaminated wash water still requires safe handling and responsible disposal.
- Castable resin may require specific surface and burnout behavior beyond smooth appearance alone.
Resin selection should be reviewed alongside printer size, application, and post-processing requirements to ensure compatibility across the full workflow.
Step 3: Adjust Layer Height Based on the Surface
Lower layer height can reduce visible stair-stepping on curved or sloped surfaces, but it increases print time and may require exposure recalibration. For factory and lab workflows, the optimal layer height is usually a balance between surface quality, dimensional requirements, throughput, and material behavior.
Use finer layers when:
- The surface has shallow curves
- The part is a display prototype
- Dental model detail is important
- Small text, edges, grooves, or anatomical details must be visible
- Sanding time is more costly than additional print time
Use standard layer height when:
- The part is primarily for rough fit checking
- Surface finish will be sanded or painted
- Throughput takes priority
- The geometry does not show layer lines prominently
Step 4: Reorient the Model
Orientation is one of the most effective ways to improve resin print surface finish. A flat surface printed parallel to the build platform may show different artifacts than the same surface printed at an angle. Curved surfaces may show stair-stepping depending on their angle relative to the Z-axis.
Practical orientation guidelines:
- Avoid placing the most visible surface directly in the support area
- Tilt large flat surfaces to reduce suction and surface defects
- Angle curved display surfaces to reduce visible stepping
- Keep critical mating surfaces as clean as possible
- For dental arches, find the best balance between fit, detail, support contact, and washing access
- For hollow models, ensure resin can drain properly
Phrozen recommends model reorientation as one approach to reducing pixel or voxel line visibility, including tilting models within a practical angle range depending on the part geometry.
Step 5: Improve Support Strategy
Support design directly affects surface finish. Poor support placement can undermine an otherwise good print. Too few supports can cause failure or layer defects. Too many heavy supports create excessive scarring.
A professional support strategy should:
- Place supports on non-visible or less critical surfaces
- Use smaller contact points where geometry allows
- Increase support density in hidden areas rather than using large tips on visible surfaces
- Use stronger supports for heavy sections while keeping touchpoints controlled
- Avoid supports on sharp cosmetic edges
- Add local reinforcement for islands, overhangs, or heavy cross-sections
- Review the sliced file, not only the CAD model
For production use, save proven support profiles for repeated models. Dental labs and factories should avoid changing support settings between batches unless testing a documented, controlled improvement.
Step 6: Calibrate Exposure and Motion Settings
A clean surface finish requires stable polymerization and consistent layer separation. Exposure time, lift height, lift speed, rest time, light-off delay, bottom exposure, resin temperature, and vat film condition can all affect quality.
Check the following:
- Is normal exposure calibrated for this resin?
- Are fine details swollen or underformed?
- Are horizontal lines appearing at regular intervals?
- Is the release film cloudy, scratched, loose, or worn?
- Is the resin well mixed?
- Is the printer level and mechanically stable?
- Is the build plate secure?
- Are large cross-sections generating excessive suction?
If horizontal layer lines appear repeatedly, review exposure, lift height, rest time, support placement, hollowing setup, and release film condition. These are established variables in resin layer-line troubleshooting.
Step 7: Wash Thoroughly but Do Not Over-Wash
Washing removes uncured resin from the surface. Incomplete washing can leave the surface sticky, glossy, or uneven. Washing that is too aggressive or too prolonged can weaken some resins, cause cloudiness, or affect dimensions depending on the material and solvent.
Good washing practice:
- Use clean washing liquid
- Use separate first-wash and second-wash containers for production
- Apply agitation where appropriate
- Avoid overcrowding parts
- Flush cavities and holes thoroughly
- Replace solvent or water when contaminated
- Follow resin supplier instructions
For professional labs, manual washing should be standardized. Automated or semi-automated wash equipment can reduce operator variation. Yidimu’ post-processing guidance describes controlled washing and air drying before curing as part of a repeatable resin workflow.
Step 8: Dry Completely Before UV Curing
Drying is frequently underestimated. Parts should not go directly from wash liquid into the curing chamber unless the resin manufacturer specifically permits it. Wet parts can develop spots, cloudy areas, or uneven curing.
Drying checklist:
- Use clean compressed air only if it is oil-free and properly regulated
- Allow solvent to evaporate fully from holes and recesses
- Inspect the surface before placing in the curing chamber
- Remove any trapped liquid from hollow parts
- Do not leave uncured resin in internal cavities
Step 9: UV Cure According to Resin Requirements
UV curing completes the resin’s post-polymerization process and can affect final strength, surface hardness, dimensional stability, and suitability for the intended application. The correct curing time, wavelength, temperature, and part placement depend on the resin and application. Yidimu describes post-curing as exposure to light and heat to finalize part properties in compatible resin workflows.
Curing should be treated as a formal step in the production process. A professional workflow should record:
- Resin name and batch
- Printer model
- Layer height
- Exposure setting
- Wash method and duration
- Drying method
- UV curing equipment
- Curing time and temperature if applicable
- Final inspection result
Step 10: Finish the Surface Mechanically or Chemically When Appropriate
After printing, washing, drying, and curing, additional finishing may be needed. The appropriate method depends on the part and material.
Common methods include:
- Support nub trimming
- Filing
- Dry sanding
- Wet sanding
- Buffing
- Polishing
- Media blasting
- Primer and paint
- Clear coating
- Surface sealing
Sanding is commonly used to remove support marks and smooth edges. A practical approach is to start with a coarser grit only where needed, then move progressively to finer grits. Yidimu notes that sanding, buffing, and polishing can help remove support marks and smooth SLA parts, while complex geometry may require methods beyond hand sanding.
Professional Checklist: How to Improve Surface Finish on Resin Prints
Use this checklist before assuming the printer is at fault:
- Confirm the surface requirement for the application
- Select resin according to application, not only color or cost
- Confirm resin compatibility with printer wavelength and curing process
- Reduce layer height if curved surfaces show stair-stepping
- Reorient the model to reduce visible layer artifacts
- Keep supports away from visible or functional surfaces
- Use support contact sizes that balance stability with minimal marking
- Calibrate exposure for the actual resin and layer height
- Check lift height, lift speed, rest time, and release film condition
- Avoid large unsupported cross-sections and poor hollowing design
- Wash with clean liquid and controlled agitation
- Dry the part fully before UV curing
- Cure according to resin instructions
- Remove support marks with progressive sanding or appropriate finishing
- Record the workflow for repeatable production
Common Mistakes to Avoid
Mistake 1: Only Reducing Layer Height
Lower layer height can help, but it does not solve every surface problem. Pixel lines, support scars, sticky residue, overexposure, and poor washing will persist even at very fine layer heights.
Mistake 2: Placing Supports on the Best Surface
This is one of the easiest mistakes to avoid. Before slicing, identify which surfaces matter most. Where possible, place support contact points on hidden, less critical, or post-machined areas.
Mistake 3: Removing Supports After Full Curing Without Testing
Fully cured resin can be harder and more brittle. Removing supports after curing may leave deeper scars on some materials. Many users prefer removing supports after initial cleaning and before final curing, but the best timing depends on resin type, geometry, and workflow.
Mistake 4: Curing a Wet Part
Solvent or water residue can cause cloudy patches, white marks, or inconsistent surfaces. Dry parts thoroughly before curing.
Mistake 5: Using Dirty Washing Liquid
Contaminated wash liquid redeposits resin residue onto the part, leaving sticky or cloudy surfaces.
Mistake 6: Over-Smoothing with Anti-Aliasing
Anti-aliasing can reduce pixel-edge artifacts, but excessive smoothing may soften fine details, text, margins, and delicate structures. Test carefully before applying it to production settings.
Mistake 7: Treating Dental Prints Like General Models
Dental workflows may involve specific resin indications, curing requirements, cleaning instructions, and local regulatory obligations. Customers should confirm resin indication, post-curing process, and local regulatory requirements before clinical or intraoral use.
Mistake 8: Ignoring Safety During Finishing
Sanding cured resin produces dust. Handling uncured resin carries chemical exposure risks. NIOSH notes that 3D printing can involve exposure to particles and chemicals, and safe workflows should include controls such as ventilation and appropriate handling practices.
How Yidimu Helps Professional Users Improve Resin Print Surface Finish
Yidimu focuses on resin-based 3D printing equipment, materials, UV curing equipment, and workflow support for professional users. For factories, dental labs, clinics, model-making companies, and research teams, surface finish should be evaluated as part of a complete production workflow.
Yidimu can help customers review:
- Model size and geometry
- Application type
- Required surface quality
- Printer size and resolution requirements
- Resin type
- Layer height and slicing strategy
- Support placement
- Washing method
- UV curing equipment
- Expected daily output
- Sample printing needs
- Operator training and maintenance workflow
A good surface finish comes from matching the right printer, resin, settings, and post-processing approach to the actual production requirement—not from any single factor in isolation.
FAQ
How do I make resin 3D prints smoother?
Making resin prints smoother typically involves a combination of steps: reducing layer height when needed, improving model orientation, using better support placement, calibrating exposure, washing thoroughly, drying before curing, and sanding or polishing support marks after curing. The most effective approach depends on the resin, printer, model geometry, and intended application.
Why do my resin prints have layer lines?
Layer lines can result from layer height, model orientation, exposure settings, lift settings, insufficient rest time, weak supports, hollowing issues, or release film condition. Repeated horizontal lines often require checking both slicer settings and mechanical printing conditions.
Does lower layer height always improve surface finish?
Lower layer height can reduce visible stair-stepping on curved or sloped surfaces, but it also increases print time and may require recalibrated exposure. It does not automatically remove pixel lines, support marks, sticky residue, or washing defects.
Can anti-aliasing improve resin print surface finish?
Anti-aliasing can help reduce pixel-edge artifacts on some LCD resin prints. However, too much anti-aliasing or blur may soften fine details. Test with real production parts before using it as a standard setting.
Should I remove supports before or after curing?
Many resin users remove supports before final UV curing to reduce surface scarring, but the best approach depends on resin type, part geometry, support size, and workflow. For professional production, test and document the method that gives the best surface without damaging the part.
Why are my resin prints sticky after curing?
Sticky resin prints usually indicate incomplete washing, contaminated wash liquid, insufficient drying, or incorrect curing. Review the resin instructions, wash process, curing time, curing equipment, and resin compatibility.
Can sanding remove support marks from resin prints?
Yes, sanding can remove many support marks, but it should be done gradually using a proper grit sequence. Start only as coarse as necessary, then progress to finer grits. Wear suitable PPE and manage resin dust appropriately.
What is the best resin for smooth surface finish?
There is no single best resin for every application. Dental model resin, gray model resin, engineering resin, castable resin, water-washable resin, and flexible resin all have different surface behavior and post-processing requirements. Choose based on application, detail requirements, curing process, and intended use.
Do dental resin prints need special surface finishing?
Dental resin prints may require specific cleaning, curing, inspection, and handling steps depending on the resin indication and intended use. Customers should confirm resin indication, post-curing process, and local regulatory requirements before clinical or intraoral use.
Is UV curing necessary for resin 3D prints?
Most resin prints require UV post-curing to reach intended material properties, but the exact process depends on resin type and application. Always follow the resin manufacturer’s instructions and confirm curing requirements for professional or regulated workflows.