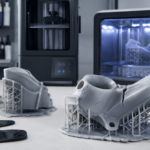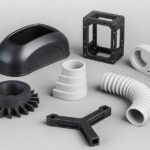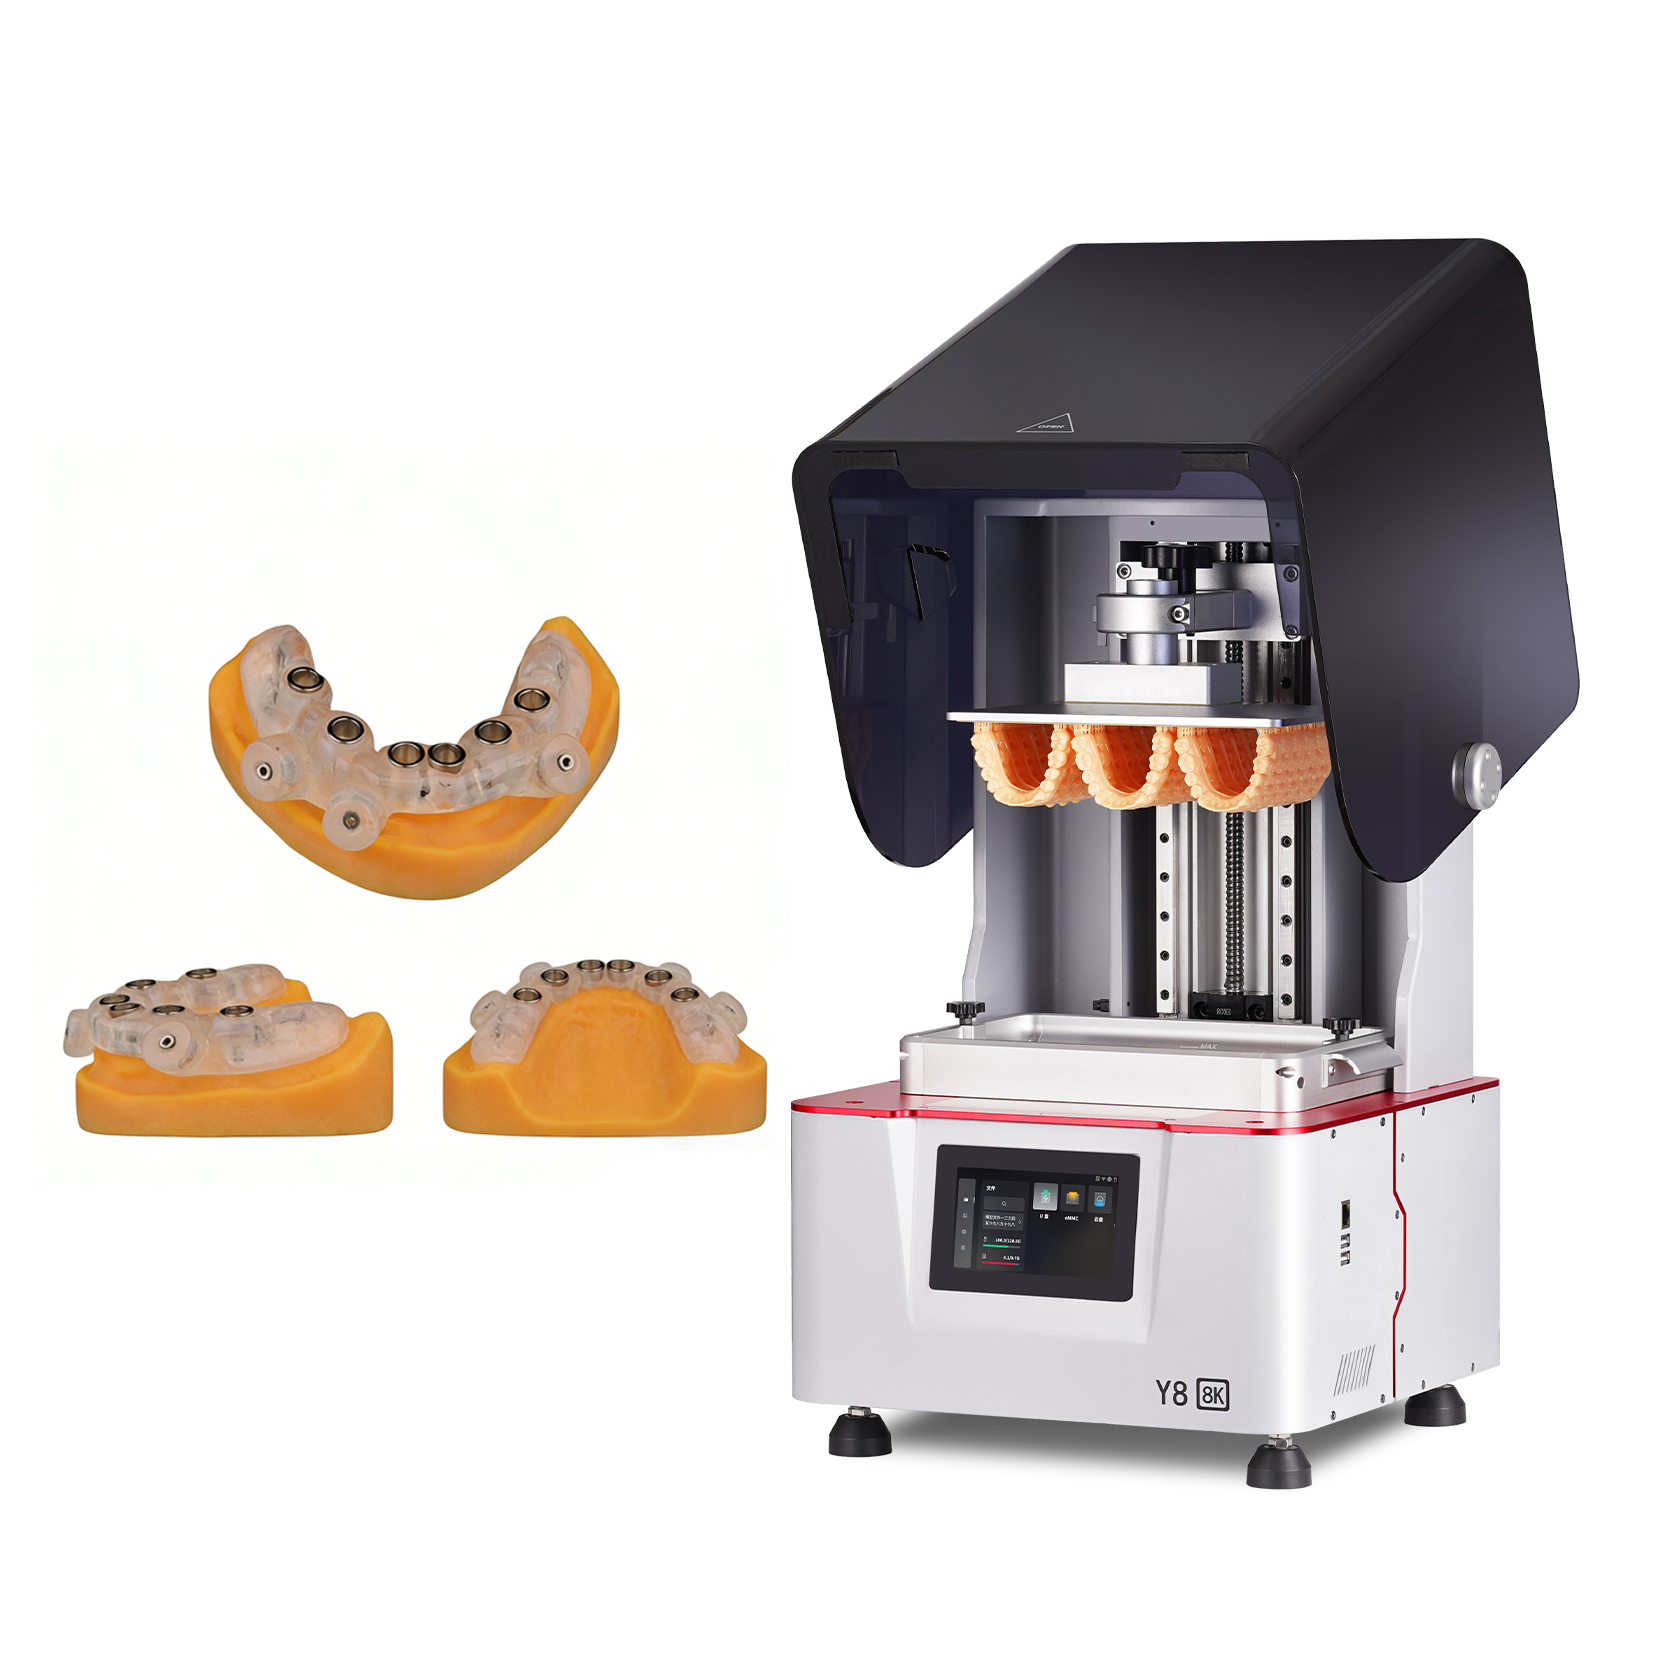
LCD resin 3D printing (also called masked stereolithography or MSLA) is a vat photopolymerization process that uses a high-resolution LCD panel as a mask to cure liquid resin layer by layer. UV light (typically 405 nm) shines through the LCD mask so that each layer’s cross-section is exposed and hardened simultaneously. The build platform then moves up for the next layer. This approach produces very fine detail and smooth surfaces (comparable to SLA or DLP) and is faster than point-scanning lasers. LCD printers are cost-effective, making them popular for precision prototypes, dental models, jewelry masters, and small-batch industrial parts. Users must handle resins safely and perform proper post-curing to achieve full strength and any required biocompatibility.
How LCD Resin 3D Printing Works
LCD printing is a form of vat photopolymerization. A tank (vat) is filled with liquid UV-curable resin. Beneath the vat is an array of UV LEDs and above it is a monochrome LCD screen. The LCD acts like a dynamic mask: for each layer, it blocks or passes light in a pattern corresponding to the slice of the 3D model. When the UV LEDs flash, only the exposed areas harden. Then the build platform lifts, allowing fresh resin to flow under the part before curing the next layer. This bottom-up approach (platform starts near the vat bottom and pulls up) lets the printer cure whole layers at once, yielding fast layer times and high detail.
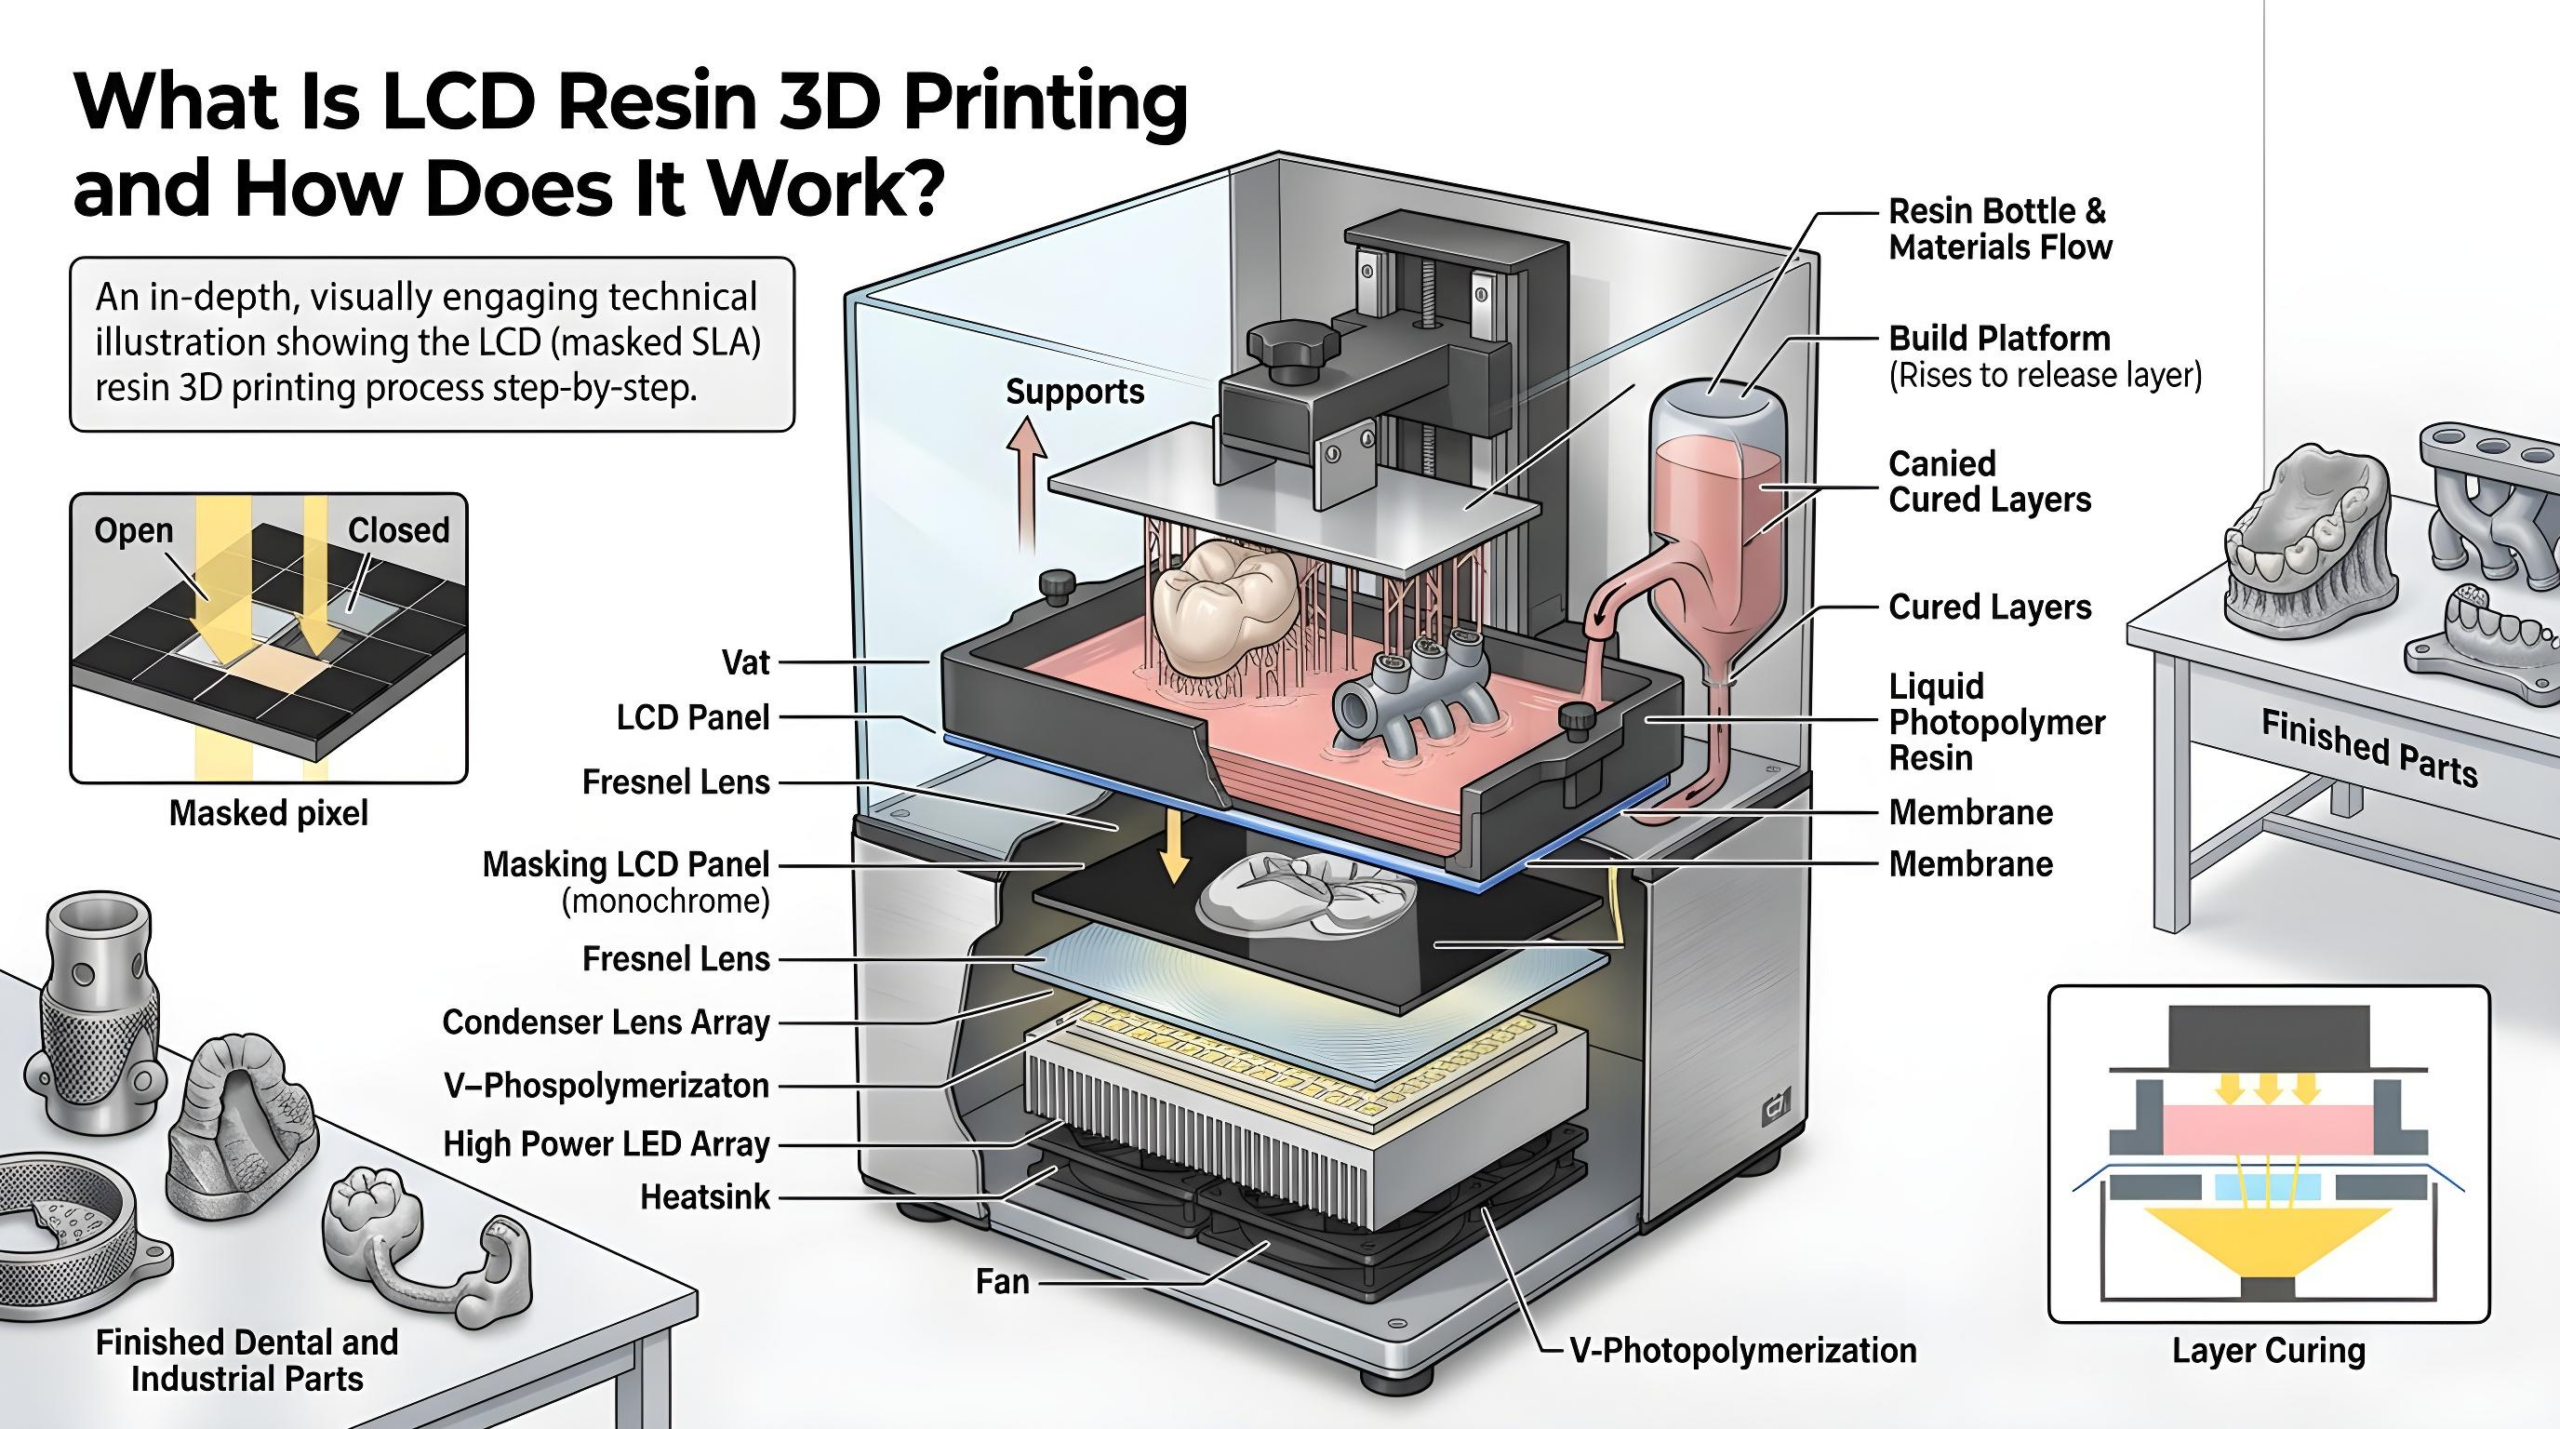
Key components include a high-resolution LCD panel, a 405 nm UV LED light source, a precisely leveled build platform, and a resin vat with a transparent FEP film. Monochrome LCDs (no color filter) are used to maximize UV transmission and durability. The pixel size of the LCD determines XY resolution: for example, a 6K (≈5760×3600) 9.25″ panel gives ~34 µm pixels. Each cured layer bonds to the previous one, building the part. After printing, the model must be cleaned (e.g. with IPA) and fully post-cured under UV light to complete polymerization. Proper post-curing ensures mechanical strength and accuracy of the final parts.
Advantages and Considerations of LCD 3D Printing
- High Resolution & Surface Finish: LCD printers yield very fine detail. Pixel sizes down to ~30–50 μm are common, so parts have smooth surfaces with minimal visible layers. This precision makes LCD ideal for intricate models, dental molds, jewelry masters, and detailed prototypes.
- Fast Layer Cure: Because each layer is flash-cured in one go, printing speeds (z-axis growth) are fast – on the order of 2–4 cm/hour. This speed rivals DLP systems and is typically much faster than traditional laser SLA (which scans point-by-point).
- Cost-Effectiveness: LCD 3D printers are generally more affordable than equivalent DLP or industrial SLA machines. Lower hardware costs and the use of inexpensive LCD panels mean smaller labs and factories can access high-resolution resin printing.
- Open Material Ecosystem: Many LCD printers allow a wide range of 405 nm resins (rigid, tough, flexible, castable, bio-compatible, etc.). Open systems let users choose from third-party resins or specialized materials (e.g. dental-model resin, investment-casting resin). However, resin compatibility is critical: LCD machines cure at 405 nm, so resins made for 355 nm SLA may under-cure. Always verify the resin’s required wavelength and re-calibrate exposure if switching materials.
- Limitations: LCD printers have smaller build volumes (limited by the LCD size) compared to some large SLA systems. The LCD screen or panel has a finite lifespan (typically on the order of 1,000–2,000 hours), after which print quality degrades. Uniform backlighting can cause slight “light bleed” at pixel edges, so fine features may need anti-aliasing settings for best sharpness. Suction between cured layers and the FEP film can be strong for large flat surfaces; designers often add holes or perforations to mitigate peeling forces. Proper maintenance (cleaning the vat, replacing FEP films, leveling the platform) is essential to avoid failed prints.
Industrial and Dental Applications
LCD resin printing is widely used in prototyping and manufacturing. Its high accuracy and good surface quality suit part models, prototypes, injection mold patterns, and tooling inserts. Factories use LCD printers for small-batch production of plastic parts (e.g. clips, housings, fixtures) and for jigs/fixtures. In dental and medical fields, LCD printers produce precise models (stone-model analogs, surgical guides, custom trays) and even direct-print splints or temporary crowns (with biocompatible resins). Jewelry and art industries use LCD 3D printers to create master patterns for casting, with detail fine enough for intricate designs.
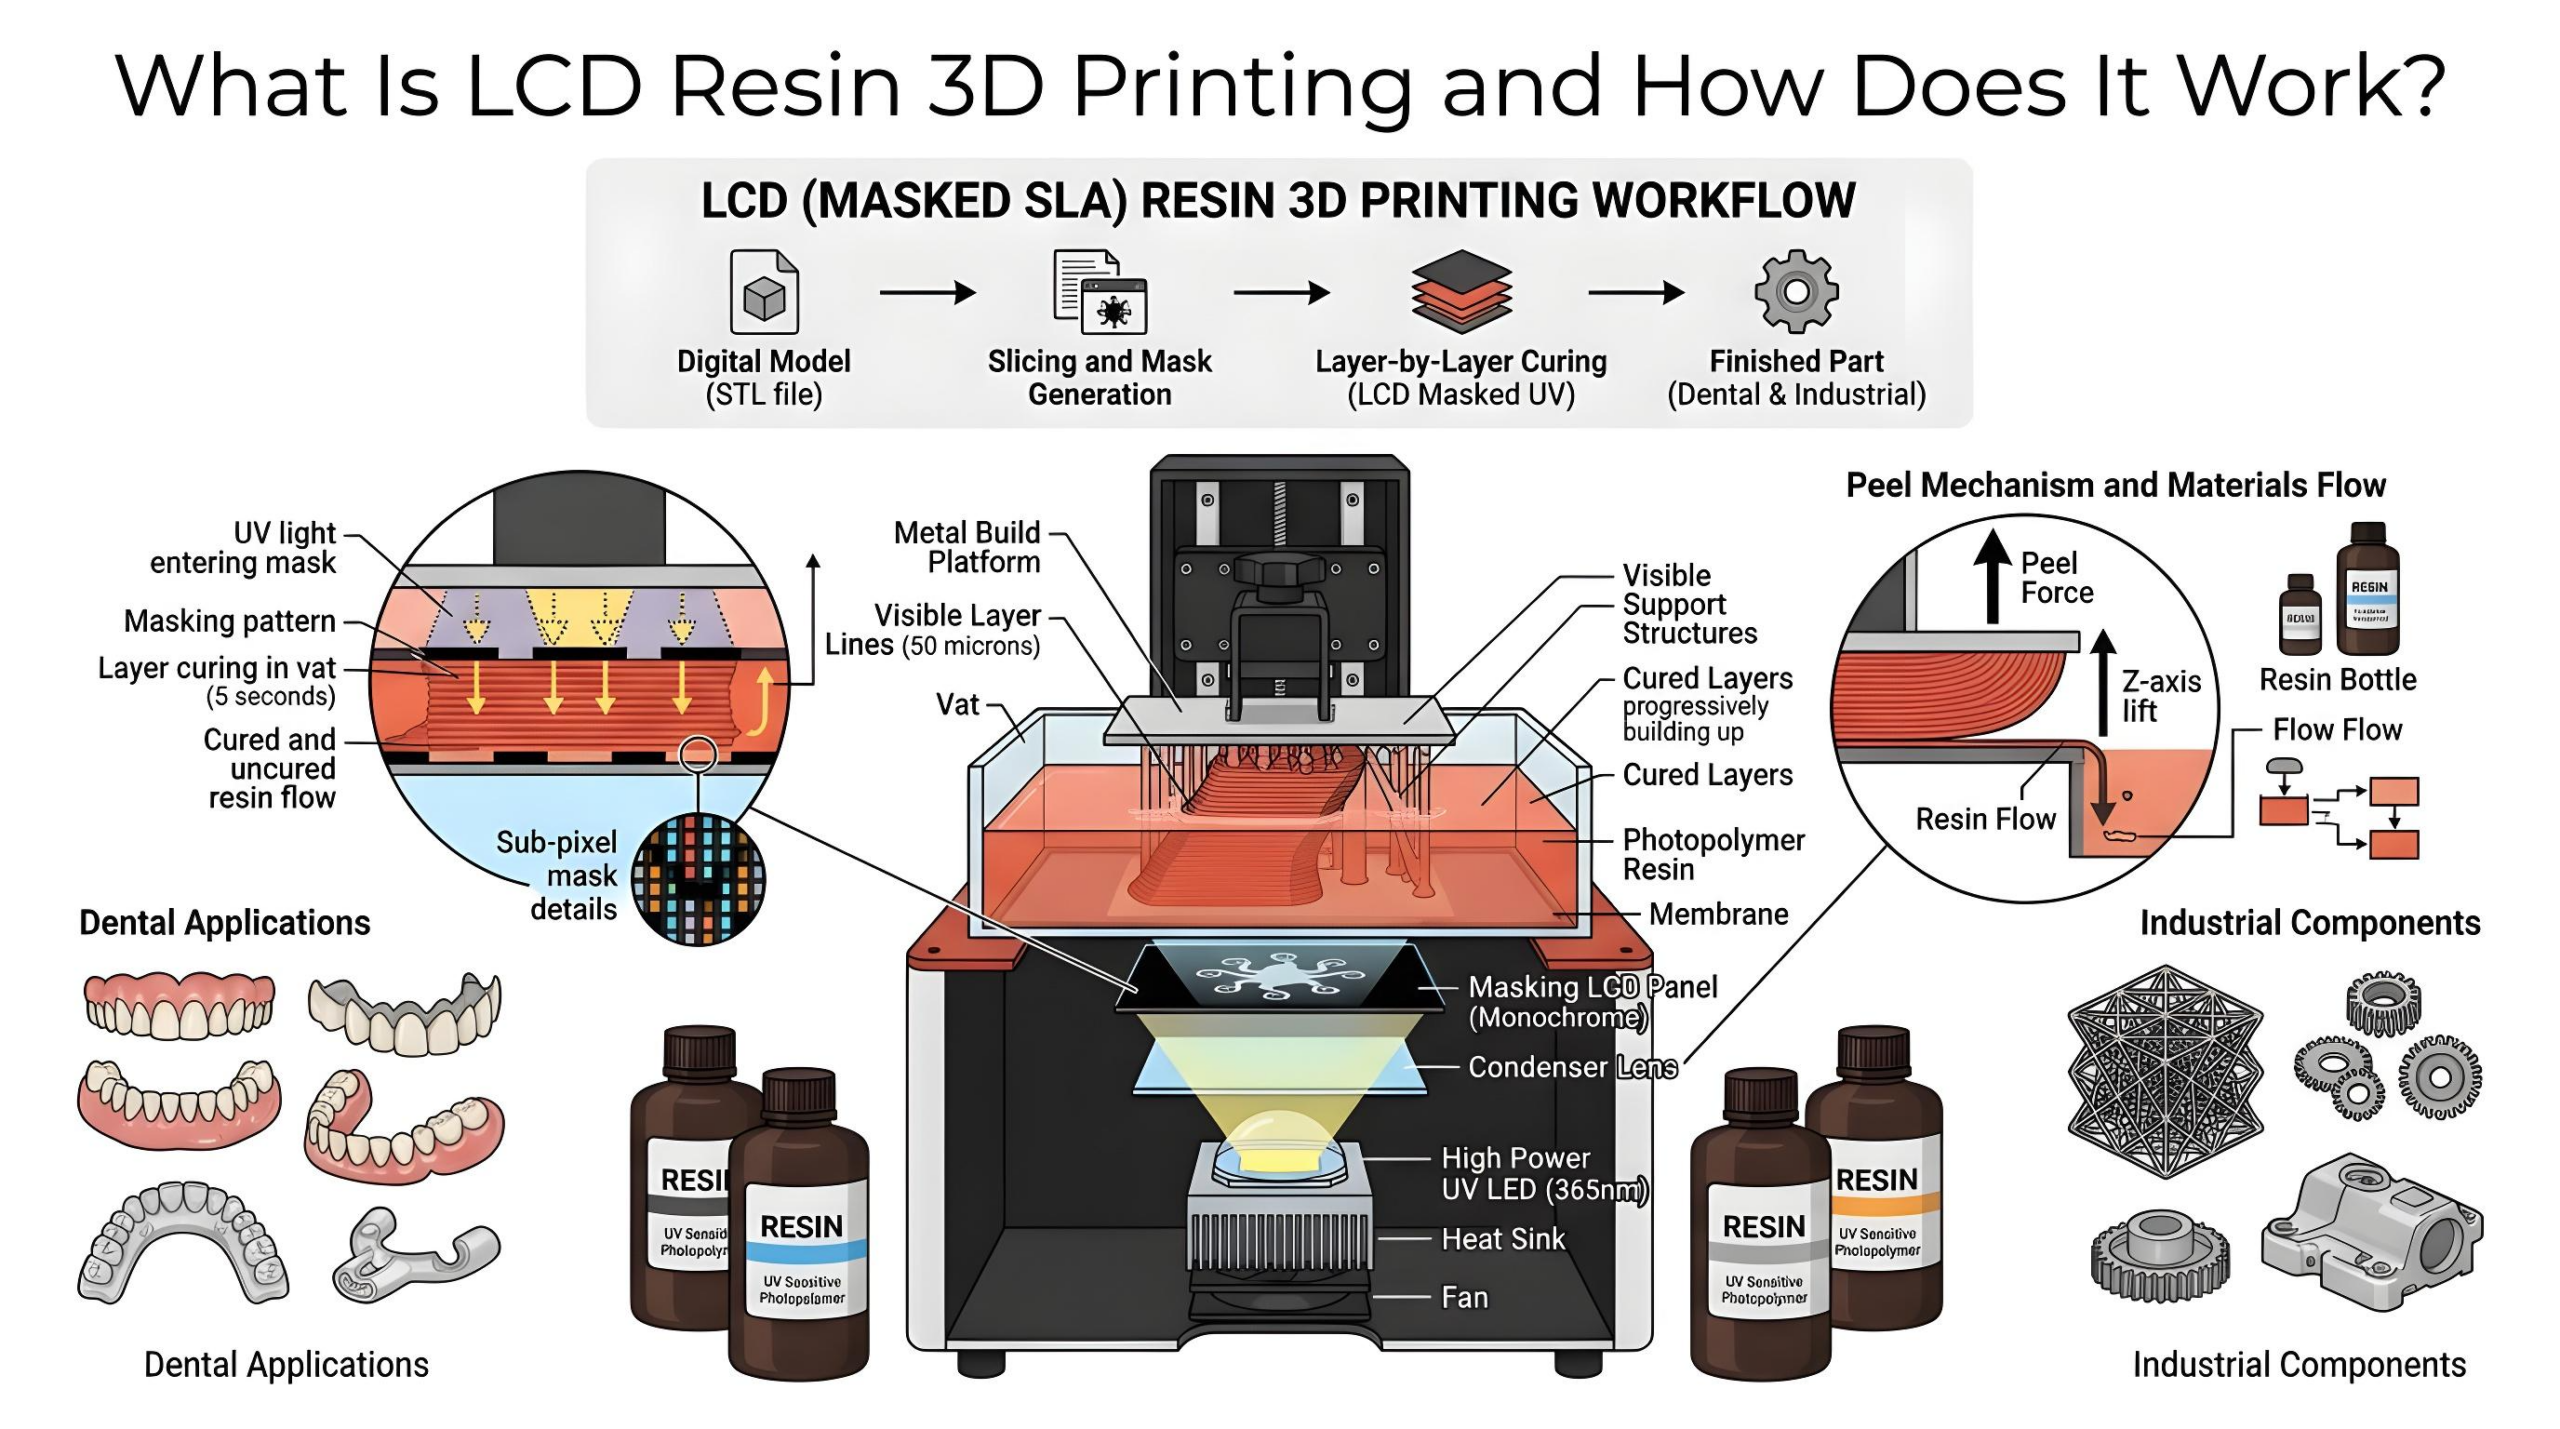
Choosing the right LCD printer or resin: Key factors include the required build size (choose panel size and Z-height accordingly), desired XY resolution (choose 2K/4K/6K/8K screen), and material properties (rigid vs flexible vs dental-grade). For example, a dental lab may prioritize a printer with certified bioresins and a vacuum-cured model resin, while an engineering team might select a large-format 8K LCD printer for prototyping polymer parts. Always confirm that the printer supports the necessary material (e.g. 405 nm resins) and that you plan for necessary post-processing. For dental or clinical use, customers should verify that resins are indicated for intraoral use and comply with local medical-device regulations. It’s also essential to follow the manufacturer’s post-curing instructions to ensure parts reach their full strength and biocompatibility.
Practical Table
| Aspect | Laser SLA | DLP (Projector) | LCD (Masked SLA) |
|---|---|---|---|
| Light Source | UV laser (point source) | UV DMD projector (pixel array) | UV LED array with monochrome LCD panel (mask) (typically 405 nm light) |
| Exposure Method | Scans each point sequentially | Flashes entire layer at once | Exposes full layer through LCD mask (all pixels simultaneously) |
| Print Speed (z-axis) | Slow (point-by-point) | Very fast (layer flash in seconds) | Fast (~2–4 cm/h typical) |
| XY Resolution | Continuous (<100 μm beam) | Pixel-based (~25–50 μm) | Pixel-based (~30–50 μm; e.g. 6K panel ≈34 μm) |
| LED/Screen Life | Long (laser/UV bulb long-life) | ~10,000 h (DLP LED) | ~1,000–2,000 h (LCD panel) |
| Cost | High (industrial machines) | Medium–High | Lower (desktop/bench-top systems) |
| Material Compatibility | 355 nm resins common | 385–405 nm resins | 405 nm resins (verify resin is LCD-compatible) |
| Best Use-Cases | Highest finish, large parts | High-volume dental/jewelry batches | High-detail prototypes, dental models, jewelry masters, short-run production |
Step-by-Step LCD Printing Workflow
- 1. Design & Slicing: Create or scan a 3D model in CAD and import into slicing software. Orient the part and generate supports. Set layer height (commonly 25–100 μm) and exposure settings per resin.
- 2. Prepare Printer: Level the build platform according to the printer manual. Pour the chosen UV resin into the vat, ensuring it’s well-mixed and free of debris. Wear nitrile gloves and eye protection when handling resin.
- 3. Print the Part: Start the print. The LCD will mask each layer as the UV LEDs flash, curing the resin. Monitor the first layers carefully to ensure adhesion. Keep the printer’s lid closed during operation to block stray UV light.
- 4. Wash the Print: After printing, remove the part from the platform and rinse it in isopropyl alcohol (IPA) or a designated resin cleaner to wash away uncured resin. Use a two-stage wash if needed (fresh IPA then rinse).
- 5. Post-Cure: Place the washed part into a UV curing chamber for the recommended time (often 5–30 minutes, depending on resin and thickness). This completes polymerization and maximizes strength.
- 6. Final Processing: Remove any support structures, and sand or polish as needed. Inspect the final part for defects. For dental or biocompatible parts, follow any additional sterilization or certification steps.
Common Mistakes to Avoid
- Wrong Resin Selection: Don’t use resins not formulated for 405 nm LCD printers (e.g. 355 nm SLA resins); they may under-cure or fail. Always check the resin’s datasheet.
- Skipping Calibration: Failing to level the build platform or calibrate the printer can lead to failed prints or poor adhesion. Re-level regularly, especially after moving the printer.
- Poor Support Design: Inadequate supports can cause parts to detach mid-print. Use enough supports on overhangs and consider adding drainage holes in large flat areas to reduce suction forces.
- Ignoring Light Bleed: Not using anti-aliasing or tiny “bleed walls” can result in rough edges. Enable slicer anti-aliasing or add thin walls around features to minimize over-curing.
- Resin Handling Errors: Exposing resin to daylight or not covering the vat can start premature curing. Always store resins in opaque bottles. Wear gloves/eye protection; wash spills immediately.
- Neglecting Post-Processing: Removing a print too soon (before adequate UV curing) or skipping washes can leave uncured resin on the part, causing tackiness or weakness. Always follow the full wash and cure procedure.
FAQ
- Q: How does LCD 3D printing differ from SLA and DLP?
A: LCD (masked SLA) uses an LCD screen to block UV light, curing each layer’s cross-section all at once. SLA (laser) scans a laser point-by-point, which is slower. DLP (projector) also flashes full layers, but uses a digital projector (DMD chip). In practice, LCD and DLP offer similar layer speeds, while SLA provides very fine detail but slower build times. LCD printers tend to be more affordable than DLP systems. - Q: What types of resin can be used in an LCD printer?
A: LCD printers use photopolymer resins that cure under ~405 nm UV light. Available resin types include rigid standard resin, tough (high-strength) resin, flexible and rubber-like resins, castable resins (for jewelry), and dental model or biocompatible resins. Always choose resins labeled for LCD (405 nm) curing. Resins designed only for 355 nm SLA lasers will not cure properly in an LCD machine. - Q: What accuracy and resolution can I expect?
A: LCD printers achieve very high XY resolution determined by the pixel pitch of the LCD. Modern 8K units produce pixels around 29–34 µm, suitable for intricate details. Z-axis (layer) thickness can often go as fine as 25–50 µm. Overall dimensional accuracy is typically within 0.05 mm across the build area. Fine accuracy depends on printer calibration, resin choice, and part orientation. - Q: How fast is LCD printing?
A: Since each layer is cured in one flash, LCD printers can grow parts at rates around 2–4 cm per hour in Z. The exact speed depends on layer thickness and part geometry. This is comparable to DLP and much faster than point-scanning SLA, especially for complex or multiple parts. - Q: What post-processing is required?
A: After printing, always wash the parts (typically in IPA) to remove uncured resin. Then, UV-cure the parts in a dedicated oven or chamber for the time specified by the resin manufacturer (often 5–20 minutes). Post-curing ensures the part reaches full strength and dimensional stability. After curing, remove supports and finish the surface. Skipping or under-doing post-cure can leave parts brittle or tacky. - Q: Are LCD-printed parts strong enough for functional use?
A: Standard LCD resins produce rigid parts with moderate strength (tensile ~40 MPa). “Tough” or high-strength resins can yield more durable parts (often >50% elongation). However, parts remain more brittle than, say, injection-molded plastics. For functional prototypes or end-use parts, select a resin rated for that use, and consider reinforcing designs or coatings if needed. - Q: Is LCD printing safe for dental or medical applications?
A: LCD printers can produce dental models, surgical guides, aligners, and more, but only with appropriate biocompatible resins and procedures. Always use resins cleared for medical/dental use and follow strict post-curing and cleaning protocols. Customers should confirm resin indications, post-curing processes, and any local regulatory requirements before clinical or intraoral use. Proper use of PPE and ventilation is also essential when handling dental resins. - Q: What maintenance does an LCD printer need?
A: Regular tasks include leveling the build plate before each print, cleaning the resin vat and FEP film (replace the FEP sheet every few liters of resin), and changing the LCD panel when image quality degrades (typically after ~1–2k hours). Wipe off residual resin from the platform and check that the light source is intact. Keep a maintenance log and follow the manufacturer’s service schedule.
Optional References: RAHN AG (guide on vat photopolymerization), Dassault Systèmes 3D printing guide, Formlabs Resin 3D printer comparison, Raise3D LCD printing overview, Top3DShop stereolithography guide, LuxCreo dental 3D printing guide.
Interested in implementing an LCD resin 3D printing solution? Contact Yidimu with your project details (intended application, part dimensions, required material properties, and production volume). Our engineers will recommend the right printer model, resin, and workflow for your needs. We can assist with model sizing, resin selection, process setup, and post-processing recommendations to ensure reliable, high-quality results.